
Last updated November 17, 2026
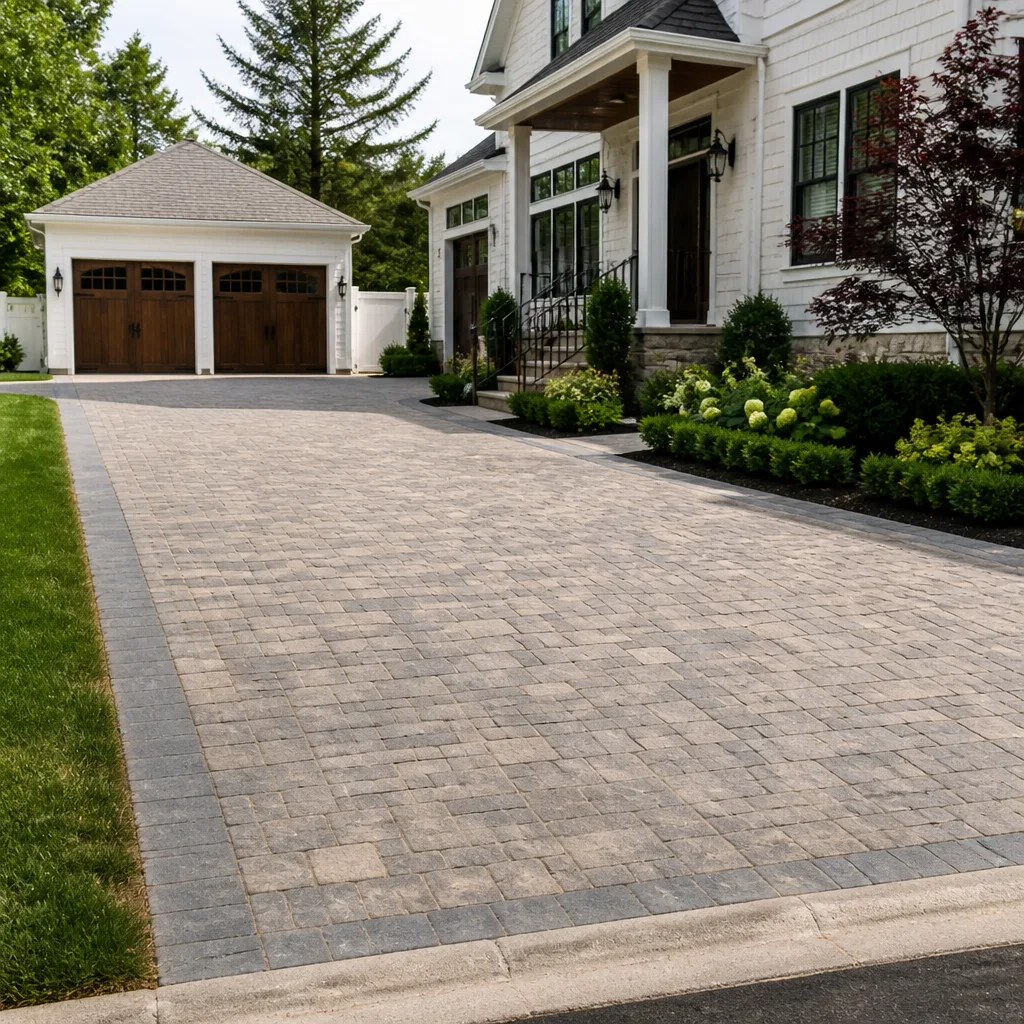 Driveway & pavers
 Kitchen remodeling
 Bathroom remodeling
 Home additions & ADU
 Roofing
 Windows & doors
 Fence
Free written scope consultation - allowances, timeline, and change-order rules on paper before a single trade is scheduled
Driveway & Pavers Warning Signs Every Homeowner Should Know
A single weed growing in a paver joint isn’t a landscaping problem – it’s a base drainage warning. By the time you’ve got three of them in a line, water has been moving under those pavers for at least one full season. We’ve pulled up enough driveways in Lancaster to know that the damage almost always starts small and quiet: a little sand washing out, one edge paver sitting proud, a joint that won’t hold sand. This guide teaches you to read those signals so you can fix a repair while it’s still a repair – not after it’s a full tear-out and re-base. Read the whole thing once, then walk your driveway with it in hand.
Quick Answer
Your paver driveway shows warning signs long before it fails outright. The big ones are weeds tracking in a line along joints, pavers that rock or sound hollow underfoot, edge pavers that separate from the field, sun-faded sealer, and settled dips that hold water. Catching these early in Lancaster’s climate means fixing sand, restraint, or a small section instead of rebuilding the whole base.
Styles & brands we work with
- Kitchen remodeling
- Bathroom remodeling
- Home additions & ADU
- Roofing
- Windows & doors
- Driveway & pavers
- Fence
Table of Contents
- The Weed Line: What Patterned Weeds Tell You About Water
- Rocking vs. Hollow-Sounding Pavers: Two Different Problems
- Why Edge Pavers Separate First
- UV and Sealant Failure in Lancaster’s Sun
- Standing Water and Settlement: Reading the Dips
- The Twice-a-Year Walkthrough: A Step-by-Step Inspection
- Repair or Replace? How to Judge the Size of the Problem
- When to Call a Professional
The Weed Line: What Patterned Weeds Tell You About Water
Weeds growing randomly in a driveway are a nuisance. Weeds growing in a line, following a joint or a seam, are a message. What they’re telling you is that water is tracking under the pavers along a path, carrying sand and seed with it. The joints are supposed to stay tight with polymeric sand. When that sand washes out, water finds the gap, and whatever the wind blows in takes root.
In Lancaster, this shows up most on driveways that take runoff from a downspout, a sloped yard, or the street side after a storm. The Antelope Valley gets its rain in a handful of hard bursts, and hard bursts are exactly what moves sand. One winter storm can wash a season’s worth of joint sand out of a low corner.
Here’s what to do with a weed line:
- Follow the line. Does it run toward a downspout, a slope, or the apron at the street? That’s your water source.
- Check the joints the weeds came out of. If they’re loose and sandy, the sand is gone and water is moving through.
- Look for the low spot. Weeds cluster where water pools and sits. That’s sediment building up under the surface.
Pulling the weeds doesn’t fix this. The fix is re-sanding the joints with a proper polymeric sand after addressing where the water is coming from. If you let the line grow for two or three seasons, the base under that path starts to soften, and then you’re rebuilding a section instead of topping off sand. For the full scope of what a proper install includes, see our Driveway & Pavers in Lancaster page.
Rocking vs. Hollow-Sounding Pavers: Two Different Problems
When a paver moves under your foot, the first question is whether it rocks or just sounds hollow. Those are not the same thing, and they don’t have the same fix. Learning to tell them apart by feel saves you from paying for base work you don’t need – or skipping base work you do.
Rocking means the paver tips when you step on one edge. Push down on the corner and feel the opposite corner lift. That’s usually a sign the bedding sand under that paver has eroded or the paver is sitting on a high spot. Rocking isolated to a few pavers near a joint or an edge is often a sand-level fix. Rocking across a whole patch is a different story.
Hollow-sounding pavers that don’t visibly move but ring hollow when tapped mean there’s a void underneath. That void is where base material has settled or been washed out. Tapping with a screwdriver handle across a grid of pavers will show you the boundary – hollow here, solid there. A void under a wide area means the compacted base has failed, not just the bedding sand.
To sort it out on your own:
- Walk the driveway in bare feet or thin soles. You’ll feel rocking more clearly than you will through boots.
- Press on the corners of suspect pavers. Note which move and which are just loose.
- Tap a grid pattern with a screwdriver handle. Mark the hollow ones with chalk.
- Step back and look at the pattern. A few scattered, a line, or a whole patch changes the diagnosis.
If you’re seeing hollow sound across a patch bigger than a couple of feet, that’s base work. On a properly built driveway it shouldn’t happen at all, which is why we’re particular about excavation depth and compaction on every job we take on.
Why Edge Pavers Separate First
The edge of a paver driveway takes more abuse than any other part. Cars cut the corner, tires roll over the border, and if the edge restraint isn’t anchored right, those pavers walk outward a little each season. That’s why edge pavers separate first, and it’s usually the first place you’ll see a gap that never closes back up.
Edge restraint is the hidden part. It’s a metal or plastic channel pinned into the base that holds the outer row of pavers tight. When it’s installed shallow, when the pins are too far apart, or when it’s been left out entirely, the edge pavers have nothing holding them against the field. Every freeze, every heavy rain, every turn of a wheel gives them a nudge outward.
What to look for on the edge:
- A widening gap between the border and the field row.
- Border pavers sitting higher than the ones next to them.
- Visible loose sand spilling out from under the edge.
- Grass or weeds growing between the border and the field row.
Left alone, the field row behind the edge starts to shift too, and the failure spreads inward. If the separation is a quarter inch or so, edge restraint can usually be reinstalled without lifting the whole border. If it’s an inch and the field has moved, that corner is coming up. A properly restrained edge is what keeps the whole perimeter locked, and it’s one of the details we check on every driveway. Your fence line sits on similar principles – see our Fence Installation in Lancaster page for how post depth and restraint work in our soil.
UV and Sealant Failure in Lancaster’s Sun
Lancaster averages around 280 sunny days a year, with summer highs that regularly top 100. That’s hard on sealant and hard on pavers themselves. A sealer that would last three or four seasons in a cooler climate often gives up in two here. And when the sealer goes, the surface underneath starts taking direct UV damage.
Signs your sealer is failing:
- Chalking or dusty surface – run your hand across the driveway and look at your palm.
- White haze or blotches in the finish, often where water sat after a storm.
- Water not beading – a drop should sit up, not soak in.
- Color unevenness – some pavers look faded while others still look rich.
Once the surface is unprotected, pavers chalk, fade, and can get brittle at the corners. Cracked, chipped corners break off under tires, and then you’ve got a paver missing and a joint open. That accelerates everything downstream – sand washes out, water gets under, weeds move in. The fix is a good cleaning and reseal every couple of years in Lancaster, not every five. When we install pavers, we use brands like Belgard and Techo-Bloc because the surface holds color longer under our sun than the mystery brands you’ll see on a van. It’s a small premium that pays back in fewer reseal cycles.
Standing Water and Settlement: Reading the Dips
A paver driveway should shed water toward the street or a designed drain, not hold it. If you see a puddle that sits for more than an hour after a storm, that’s a low spot, and low spots don’t appear on their own. Something moved underneath.
Two common causes in Lancaster:
- Bedding sand erosion. Water runs across the surface, finds a joint with loose sand, and starts tunneling. One puddle leads to a second, and the dip deepens each season.
- Base settlement. If the base wasn’t compacted in lifts, or if the wrong material was used, the base settles over time under the weight of cars. The surface follows it down.
The simplest test is a hose, not a rainstorm. On a dry day, run a hose at low flow at the top of the driveway and watch where the water wants to go. If it’s tracking across the surface, the pitch is working. If it’s diving into a joint and disappearing, the sand is too loose and water is getting under. If it’s pooling in the same spot it does after rain, you’ve got a real dip.
A single low spot near a settled tire track is often a localized fix – lift the pavers, re-level, re-sand. A dip that’s grown across half the driveway means the base has gone, and the section needs to come up. Fix the small dip while it’s still small, and you save the rebuild.
The Twice-a-Year Walkthrough: A Step-by-Step Inspection
Do this every spring and every fall. It takes about 20 minutes for a typical Lancaster driveway and it’s the best investment you can make in the lifespan of the surface.
- Walk the perimeter first. Look at the edge restraint and the border row. Any gaps, lifting, or loose sand? Snap photos of anything that looks off so you can compare next time.
- Walk the whole field, line by line. Heel-toe it and feel for rocking. Tap a grid with a screwdriver handle every couple of feet and listen for hollow sounds.
- Check the joints every 10 feet or so. Are they full of sand, or is there a gap down the center of the joint? Poke with a key. If it sinks easily, sand is loose.
- Look at the color. Any paver that’s noticeably more faded than its neighbors is taking UV direct – probably because sealer has worn off there.
- Hose test. Run water slowly across the high point and watch where it goes. Note any pooling. Not in a full rainstorm – a slow flow shows you the pattern.
- Look for weeds. Not random weeds. Lines and clusters. Note any line that points to a downspout, slope, or the street.
Write the date and what you find in a notebook or on your phone. Two inspections a year give you a real timeline – you’ll know whether that dip is growing, whether the rocking paver count is going up, whether the edge gap has widened. That’s the difference between knowing you’ve got a repair coming and getting surprised by one.
Repair or Replace? How to Judge the Size of the Problem
Most homeowners we talk to in Lancaster are relieved to find out the answer is “repair” more often than they feared. Here’s a rough rule of thumb we use on the walkthrough.
Repair-sized problems:
- Rocking pavers scattered across a few square feet (re-sand and re-set).
- A single weed line tied to one downspout (fix drainage, re-sand joints).
- One separated edge section with intact field pavers (reinstall restraint).
- A faded finish that hasn’t chalked yet (clean and reseal).
Replacement-sized problems:
- Hollow sound across a patch bigger than roughly 10 feet by 10 feet (base failure).
- A dip that holds water in one spot no matter what season (base settlement).
- Widespread chipping at corners – the pavers are past their useful surface life.
- Multiple edge failures on more than one side (restraint was never right).
- Weeds tracking along multiple internal joints (base drainage issue across the field).
The general rule: if the pavers themselves are still sound and only the sand, restraint, or a small section has gone wrong, you fix it. If the base under them has moved, you rebuild. That’s also where a bigger project can make sense – if you’re already re-doing the front approach, adding a proper porch or adding a garage pad is a cheaper add-on than a separate job later. Our Home Additions & ADU in Lancaster page covers how we sequence that kind of work with driveway and hardscape.
Common Mistakes to Avoid
- Pulling weeds without fixing the sand. Pulling the weed leaves the open joint, and the next rain sends a fresh seed in. Re-sand the joint or the weeds come right back.
- Pressure-washing on full blast. A 4,000 PSI wand strips joint sand out of every gap in seconds and puts you back to square one. If you’re going to wash, use low pressure and follow with a joint top-off.
- Topping off a failing base with more sand. If the pavers rock because the base is settled, adding sand just hides the problem for one winter. The base is the fix.
- Sealing over a wet or dirty surface. Sealer traps moisture if the pavers aren’t bone dry, and it locks in haze and dirt. In Lancaster, seal in a dry week and give the surface at least two full sun days first.
- Assuming you can skip permits. Some driveway expansions, especially where they cross a sidewalk or approach a public street, get pulled into permit scope in Lancaster. Ask first – don’t assume the last contractor’s “nobody pulls that” was true.
- Judging the whole driveway from the worst corner. A single bad spot usually means a small section, not a full tear-out. Get an honest assessment before you sign anything big.
- Letting the edge go. The edge restraint is the cheapest thing to fix and the most expensive thing to ignore. Every separation widens and spreads inward.
When to Call a Professional
Small stuff is a homeowner’s job. The following scenarios are worth a set of trained eyes: a hollow-sounding patch across a large area, standing water that doesn’t drain after a storm, two or more edge failures on different sides, or any dip that’s grown since your last walkthrough. If you’re not sure whether your driveway needs a fix or a full replacement, a walkthrough will answer that in about 15 minutes. Barrett & Sons Construction Lancaster offers free estimates in Lancaster – call (888) 427-1810. We’ll tell you which problems are repair-sized and which aren’t, in writing, with the reasoning. Every estimate is a written line-item, and any change to the scope arrives as a written change order before work moves. That’s not a sales line, it’s the only way we’ve ever worked.
See the difference
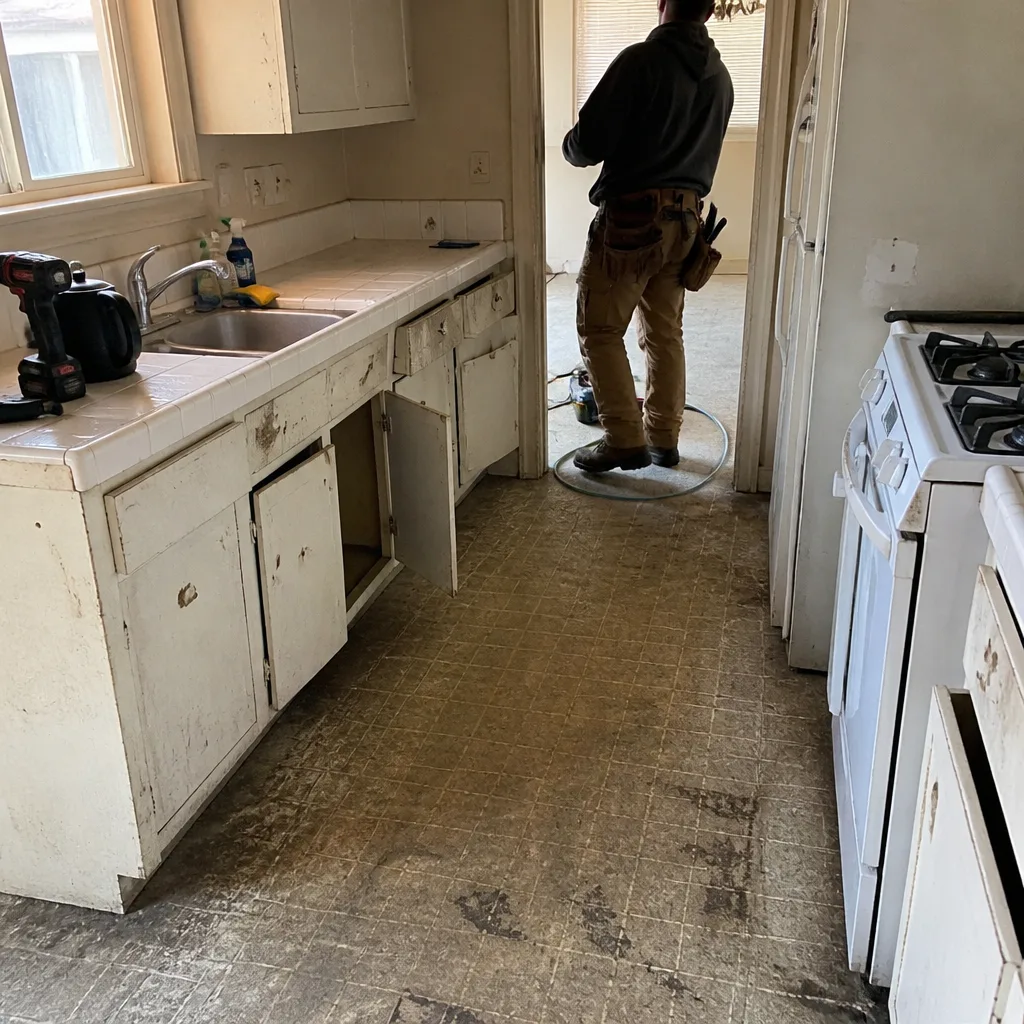
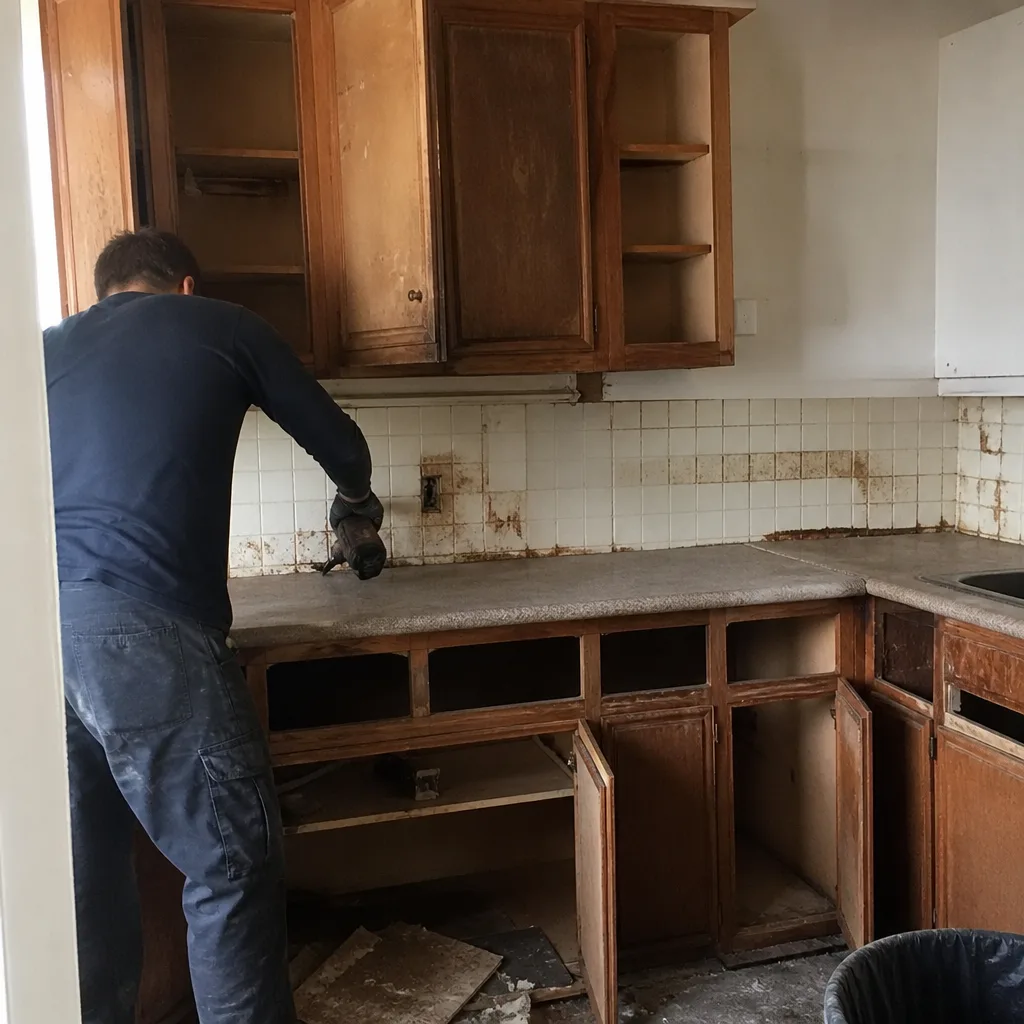 Before
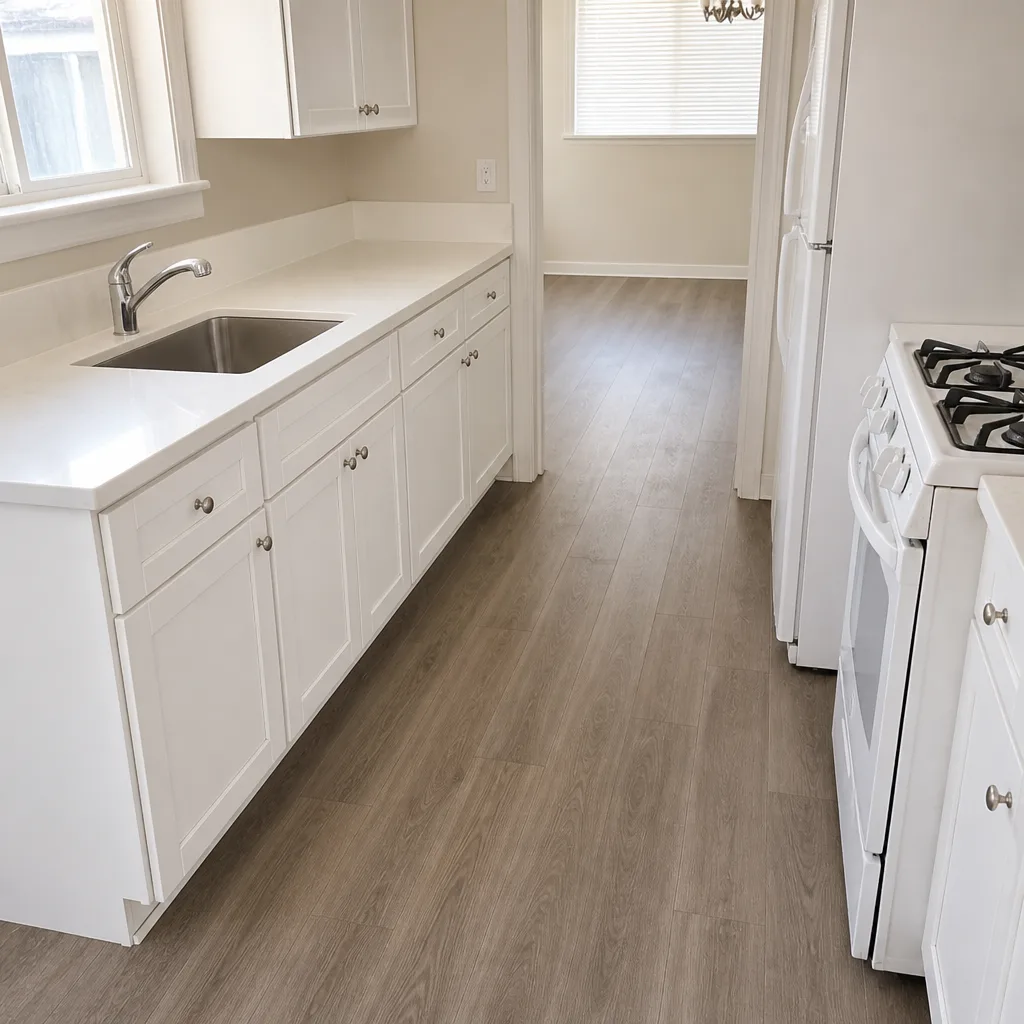
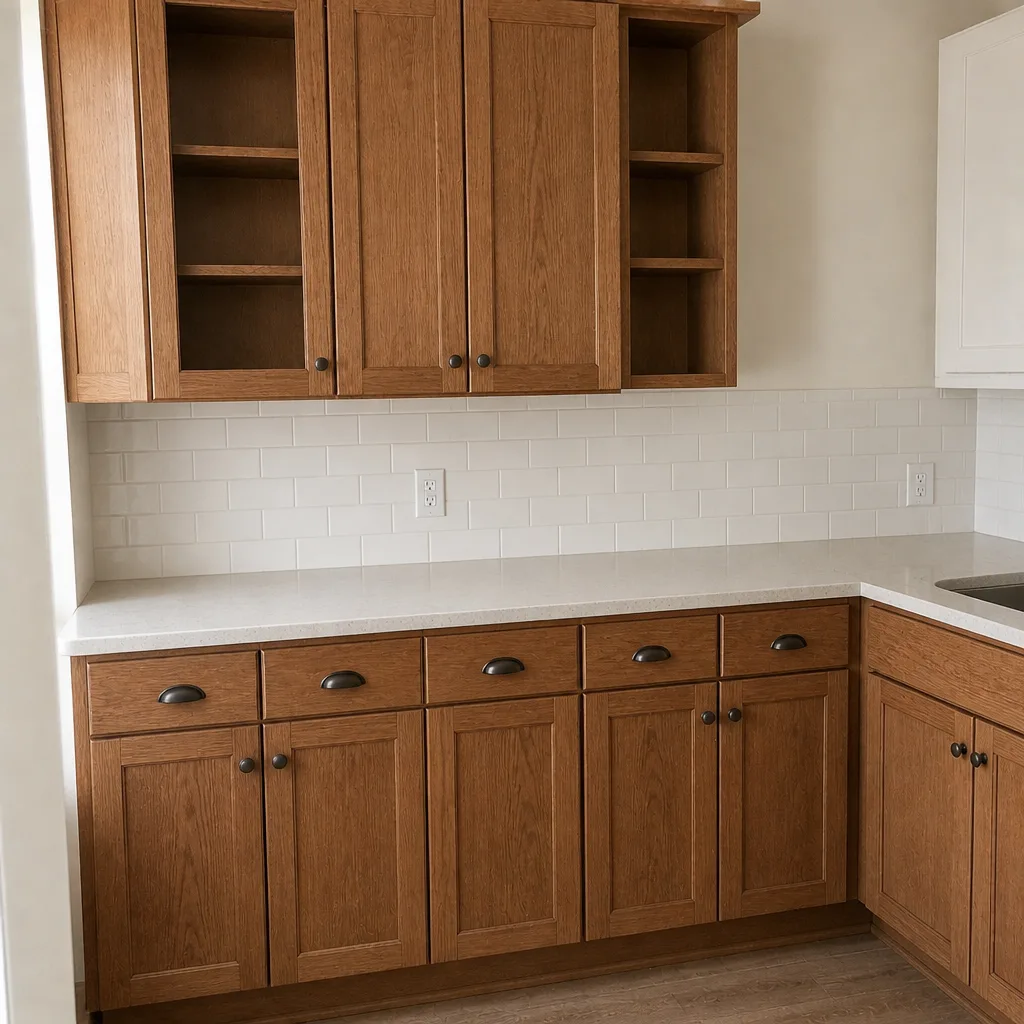 After
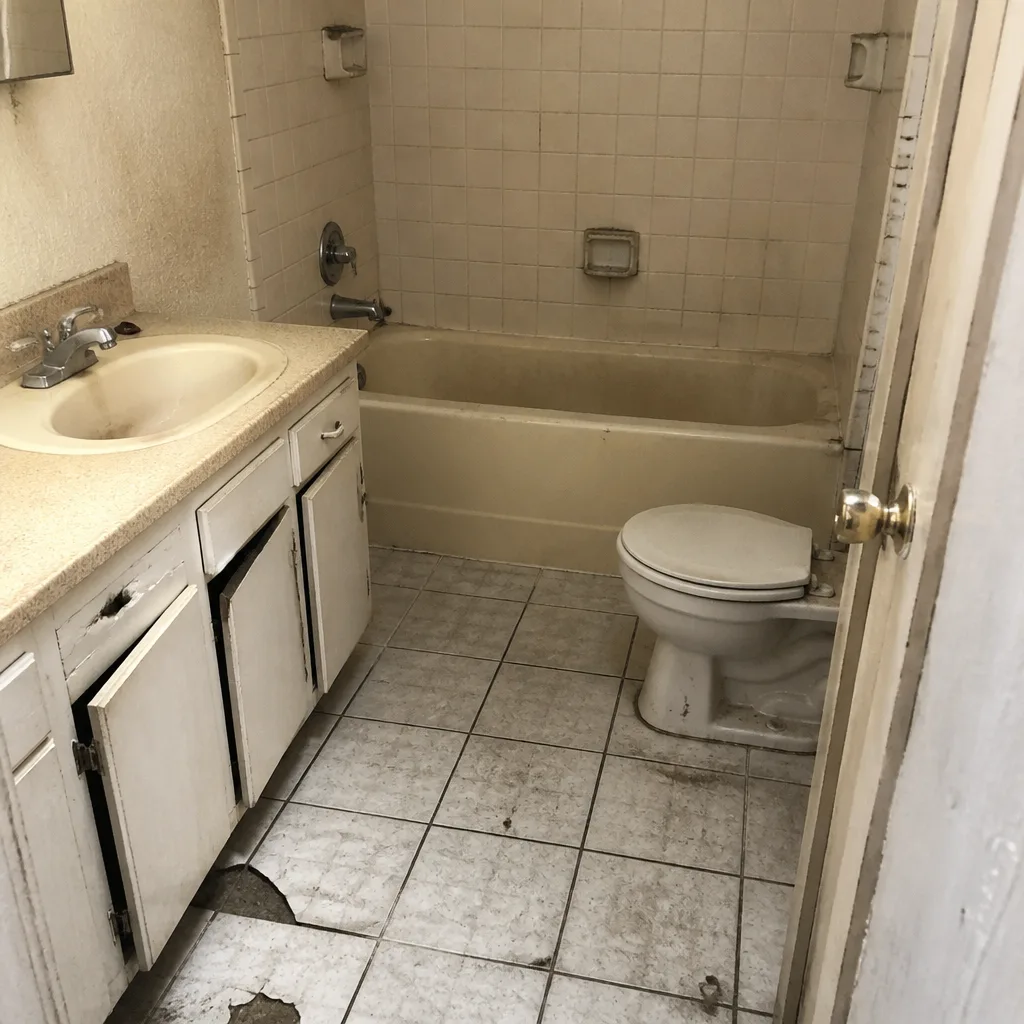 Before
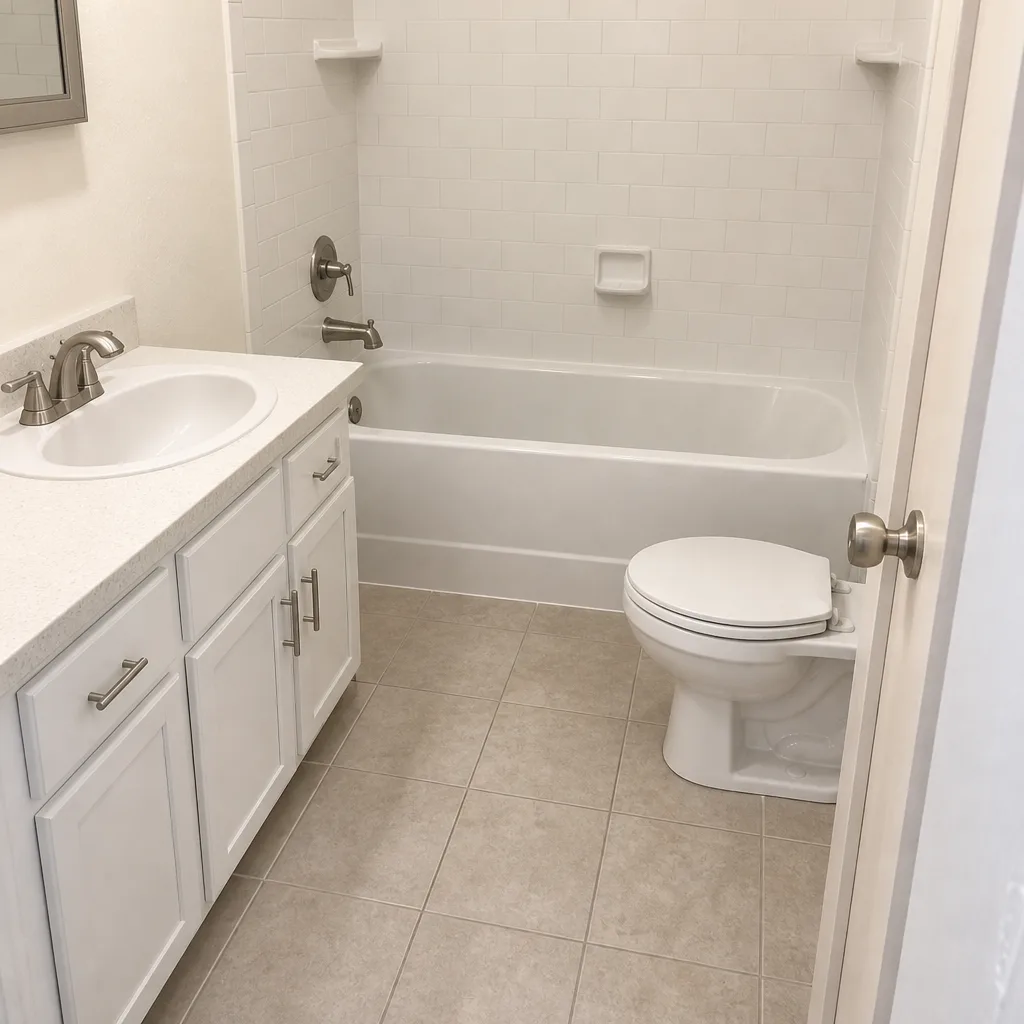 After
 Before
 After
Frequently Asked Questions
If the pavers themselves are intact and only the sand, edge restraint, or a small section has failed, you’re looking at a repair. If the base has settled or washed out under a wide area, the section needs to be lifted and re-based, which is closer to a replacement. A walkthrough with a ball-peen tap test and a hose test tells you which side of that line you’re on.
A line of weeds means water is tracking along a joint or seam under the pavers. That trail usually points to a downspout, a slope, or a low spot where runoff pools. Pulling the weeds doesn’t fix it. The joints need re-sanding with polymeric sand after the water source is addressed.
Yes, but with care. Full-blast pressure washing strips out the joint sand you’re trying to restore, so use low pressure and keep the wand moving. Re-sand with polymeric sand on a dry day, sweep it into the joints, and mist it to set. If you’re resealing afterward, wait until the surface is bone dry – two full sun days in Lancaster at minimum.
Every two to three years, not every five. Lancaster averages about 280 sunny days a year with summer highs over 100, and that burns through sealer faster than a cooler climate does. Test by dropping water on the surface – if it beads, you’re fine; if it soaks in, it’s time.
Not without a written change order in your hands first. That’s the rule on every job we do. If we open up a section and find the base is worse than the estimate showed, you’ll get the new scope and the new price in writing before anyone lifts another paver. Call (888) 427-1810 if you want to talk through a specific situation – the free second opinion on any written estimate is a standing offer.
When the scope requires it, yes. Driveway work that touches a public approach or crosses a sidewalk can hit permit scope in Lancaster, and we pull them and get the inspections signed. If a contractor tells you permits aren’t needed on your job, ask them to put that in writing – that’s usually the last you’ll hear about it. Call (888) 427-1810 for a free estimate and we’ll walk the scope with you.
The Bottom Line
Your paver driveway tells you it’s failing long before it becomes an emergency. A weed line, a rocking paver, a widening edge gap, chalky sealer, a puddle that holds – each is a signal, and each one is cheap to fix when it’s the only problem on the list. Read the signals twice a year, and you’ll spend a lot less on repairs than the neighbor who waited until the base went. If reading your own driveway isn’t how you want to spend a Saturday, call us. Free estimates. Barrett & Sons Construction Lancaster home.
Contact
If you’d like a trained set of eyes on your driveway, a written line-item estimate, and a straight answer on repair versus replacement, call (888) 427-1810 for a free estimate. We’re glad to walk the whole drive with you, point out what we see, and put it in writing. Barrett & Sons Construction Lancaster – the name on the truck, the price in writing, and the 90-Day Done Right Promise on every job.
Written by the team at Barrett & Sons Construction Lancaster.