
Last updated November 17, 2026
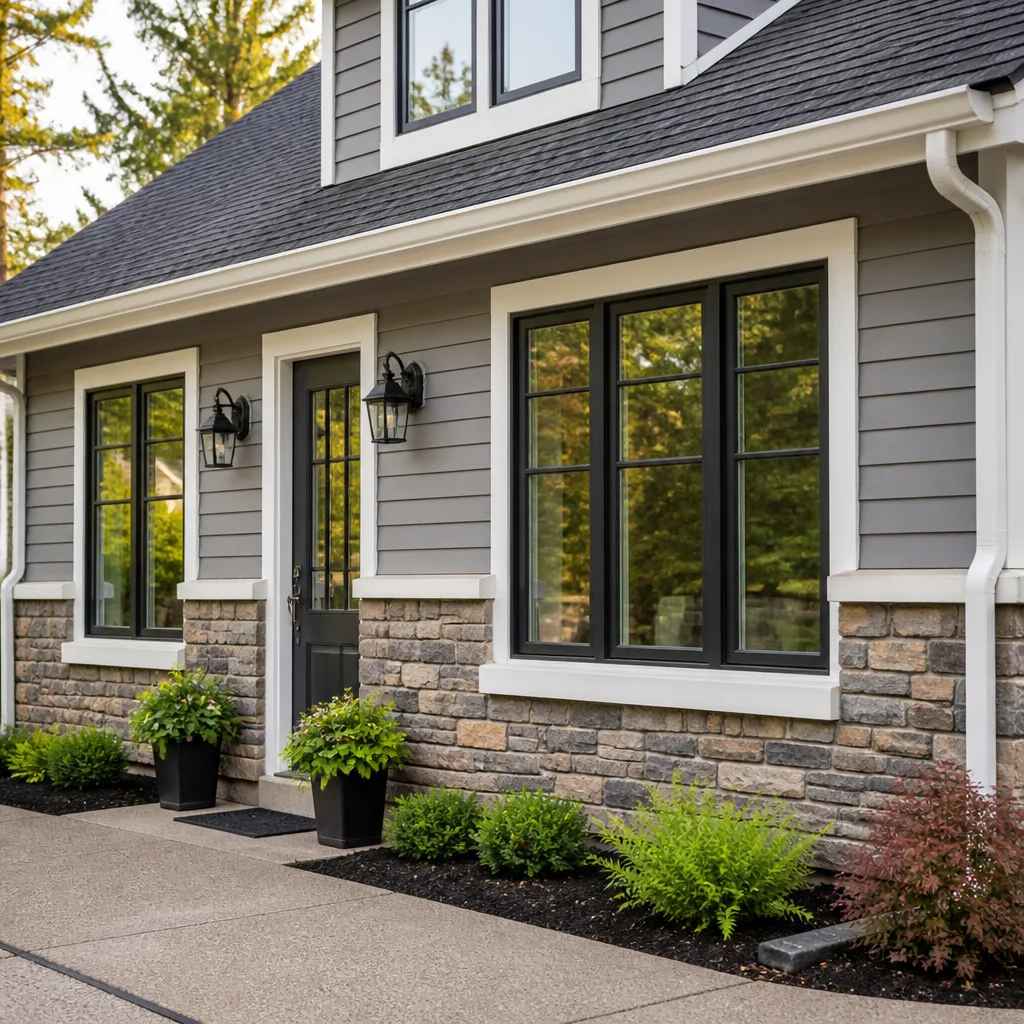 Windows & doors
 Kitchen remodeling
 Bathroom remodeling
 Home additions & ADU
 Roofing
 Driveway & pavers
 Fence
Free written scope consultation - allowances, timeline, and change-order rules on paper before a single trade is scheduled
DIY vs Professional Windows & Doors: What’s Safe to Do Yourself
Picture this. A homeowner in Lancaster spends a weekend installing a new back door. It swings true, the latch catches clean, and by Sunday night it looks like a job well done. Then the third rainstorm of the season rolls through the Antelope Valley, and the drywall under the kitchen counter starts to bubble. The problem was never the door. It was the flashing, the housewrap integration, and the sill pan – all done in the wrong order, all hidden behind the trim. Installing a window or door isn’t mainly a carpentry question. It’s a waterproofing and air-sealing question. In this guide we’ll separate the visible part from the part that actually matters, so you know what’s genuinely within a careful DIYer’s reach here in Lancaster and where the risk goes above your pay grade.
Quick Answer
Interior trim work, hardware swaps, weatherstripping, and painting are safe and sensible DIY projects for most homeowners. Removing and installing a full window or exterior door unit – the moment the building envelope is opened – is where DIY goes wrong, because the failure is in the flashing and sill-pan layers you can’t see once the job is done, and it shows up months later. Anything that breaks the envelope should be handled by an experienced installer, with permits pulled and inspections signed.
Styles & brands we work with
- Kitchen remodeling
- Bathroom remodeling
- Home additions & ADU
- Roofing
- Windows & doors
- Driveway & pavers
- Fence
Table of Contents
- The Visible Job vs the Invisible Job: What Actually Keeps Water Out
- What’s Genuinely Safe to Do Yourself
- The Installation Steps That Determine Whether Your Window Lasts
- What a Lancaster Permit Inspection Checks – and What It Doesn’t
- Failure Modes We’ve Found on DIY and Big-Box Window Jobs
- How to Evaluate a Professional Window Installation Bid
- Common Mistakes to Avoid
- When to Call a Professional
The Visible Job vs the Invisible Job: What Actually Keeps Water Out
Here’s the part most how-to videos skip. A window has two lives. The first is the one you see – the frame sits level, the sashes glide, the trim looks clean. The second is the one buried in the wall cavity, and it decides whether that window still works in five years. That second life is a system: a sloped sill pan that drains water out, flashing tape that laps the right way over the housewrap, a properly sequenced moisture barrier, and air sealing around the rough opening that stops drafts without trapping water.
Get the order wrong and you’ve built a funnel instead of a drain. Water gets behind the frame, sits against the sheathing, and works its way into the wall. In Lancaster we get dry summers and then winter rain that comes hard and fast – the kind that finds every bad flashing joint. Add the Valley’s wind-driven dust settling into gaps, and a small air leak becomes a slow draft that shows up on your energy bill long before you notice the water damage.
The carpentry – hanging a door plumb, shimming a frame square – is genuinely learnable. The envelope work is where careful ends and experienced begins, because you only get one chance to do it in the right order before it disappears behind siding and drywall. That’s the divide this whole guide rests on.
What’s Genuinely Safe to Do Yourself
Plenty of window and door work is well inside a handy homeowner’s reach, and we’re the first to say so. The projects below don’t break the building envelope, don’t require a permit, and won’t flood your wall cavity if something’s slightly off.
- Interior door trim and casing. Pulling and replacing interior trim is finish carpentry – frustrating to get perfect, but low risk. A bad joint is cosmetic, not structural.
- Hardware swaps. Deadbolts, handlesets, door knobs, hinges, and locksets are DIY territory. Just match the backset and bore size before you buy.
- Weatherstripping and door sweeps. Replacing worn weatherstripping is one of the cheapest energy fixes you can make and rarely goes wrong.
- Caulking and painting. Re-caulking around interior trim, painting sashes and frames – both fine, as long as you don’t caulk over a weep hole or the drainage path.
- Screen replacement and glass cleaning. Straightforward and hard to damage.
- Adjusting a sticking interior door. Tightening hinges, planing a leading edge, or shimming a jamb is routine for a careful DIYer.
- Curtains, blinds, and interior shutters. Mounting window treatments is safe and reversible.
Notice what’s not on that list. Anything that involves cutting the opening, removing the full unit, or touching the flashing and housewrap. Those jobs open the envelope, and once it’s open, the clock starts on getting it weathertight correctly.
The Installation Steps That Determine Whether Your Window Lasts
This is the sequence that separates a window that lasts from one that leaks. It matters more than the brand on the glass. Follow it in order, and understand that once the trim goes back on, you can’t inspect any of it.
- Remove the old unit without wrecking the opening. Careful extraction preserves the rough framing and shows you what the previous install did – or didn’t – do for flashing.
- Inspect and repair the rough opening. Rotted sheathing or framing has to go before anything new goes in. Covering rot with a new window just seals it in.
- Set the sill pan first. A sloped sill pan with a back dam directs any water that gets behind the unit back out to the exterior. Skipping it is the single most common cause of hidden rot.
- Integrate the flashing in shingle-lap order. Flashing tape laps over the housewrap in the direction water flows – bottom, then sides, then top. Get the lap backwards and water wicks in.
- Set and shim the unit plumb, level, and square. This is the carpentry part. Out-of-square frames rack the sashes and eventually crack the seals.
- Air-seal the interior gap. Low-expansion foam or backer rod and sealant closes the gap without bowing the frame or trapping moisture.
- Flash the exterior, then trim and finish. Only after the envelope is sealed and verified do the trim, siding, and interior finishes go on.
Steps 3, 4, and 6 are the ones you cannot see afterward, and they’re the ones that fail. If you remember nothing else from this guide, remember the order: pan, then flash, then seal, then trim.
What a Lancaster Permit Inspection Checks – and What It Doesn’t
Homeowners often assume the permit means someone checked the whole job. It doesn’t. Understanding what the inspector actually looks at is the difference between a false sense of security and a genuinely safe install. A window or door replacement in Lancaster requires a permit when it involves structural changes or certain energy-code conditions, and the inspector’s job is to confirm the work meets code – not to certify it’ll never leak.
What the inspection typically checks:
- Correct product and energy performance for the climate zone.
- Proper egress sizing on bedroom windows and doors.
- Structural framing and header work where the opening was changed.
- Whether required flashing and sealing is visibly present at the stage it can be seen.
What it does not check:
- Whether the flashing laps are in the correct shingle order under the siding.
- Whether the sill pan was installed before the unit went in.
- Whether the air seal is tight enough to stop drafts.
- Whether the job will still be watertight after three rainy seasons.
The permit inspector works for you, not for the installer – that’s exactly why we pull permits and get inspections signed on every eligible job. But a signed inspection is a floor, not a ceiling. The quality of the envelope work is up to the installer, and no stamp certifies it.
Failure Modes We’ve Found on DIY and Big-Box Window Jobs
On remodeling jobs across Lancaster we’ve pulled out more than a few windows and doors that were installed by a homeowner or a box-store crew, and the problems cluster around the same handful of mistakes. Here’s what we’ve found and when it showed up.
- No sill pan, or a flat one. Water pooled at the sill and wicked into the framing. It showed as soft drywall and a musty smell a year or two after install.
- Flashing lapped the wrong way. The bottom flashing went over the side flashing instead of under it. Every hard rain pushed water into the corner – visible as staining at the interior sill within a couple of seasons.
- Caulk used instead of flashing. A bead of caulk around the perimeter looked sealed. Caulk shrinks and cracks under the Valley’s UV and heat, and the leak returns with the first winter rain.
- Over-expanding foam bowing the frame. The unit got pushed out of square, the sash dragged, and the seal failed early.
- Weep holes caulked shut. A well-meaning detail that traps water inside the sill and rots the frame from within.
- No air seal at all. Drafts and dust in summer, cold spots in winter – the cheap, invisible fix everyone skips.
The pattern is consistent: the visible work looked fine, and the failure showed up months later in the wall. When we replace windows on a full remodel, that’s precisely what we’re looking for before anyone hangs new trim – because the window we save is the one we inspect before it fails.
How to Evaluate a Professional Window Installation Bid
If you’re going to hire this out, the bid should tell you whether the installer understands the envelope job or just the carpentry one. A thorough bid explains those hidden layers up front. A thin one says “we’ll take care of it” and leaves you guessing.
A thorough installer will:
- Spell out the flashing method and the sill-pan detail, in writing, before any work starts.
- Confirm the permit is being pulled and who’s responsible for it.
- Describe the air-sealing approach around the rough opening.
- Name the specific window brand and product line – Andersen and Marvin are brands you can look up, not mystery units off a van.
- Put every scope and every allowance on paper, so a change order is the only way the price moves.
- Back the work with a written guarantee, not a verbal promise.
An installer who just says “we’ll take care of it” hasn’t told you whether the sill pan is included, whether the flashing is in the right order, or whether the permit is covered. The allowance that isn’t on paper is a surprise waiting for a date. Ask for the details in writing, then compare bids on the envelope details, not just the price tag on the glass. If a quote feels too cheap, it’s usually because the invisible parts got cut.
For the broader picture of how windows and doors fit into whole-home work – whether you’re updating trim to match new units or planning a larger project – our Barrett & Sons Construction Lancaster home page lays out how we handle every trade we touch. And if you’re planning exterior work alongside the window job, replacement windows pair naturally with new hardscape; see our Driveway & Pavers in Lancaster service, or if your yard’s boundary is due for an update, Fence Installation in Lancaster covers brands like Barrette and Master Halco. Bigger envelope changes – an added window wall, a new exterior door into an addition – tie into Home Additions & ADU in Lancaster.
Common Mistakes to Avoid
- Treating the job as carpentry first. Hanging the unit plumb and square feels like the finish line, but flashing, sill pan, and air sealing are what keep the wall dry. Most DIY failures start here.
- Skipping the permit to save a few dollars. A permit gets an inspector’s eyes on the structural and egress side of the job – and an unsigned inspection can complicate resale later. Pull it.
- Caulking over a problem instead of fixing it. Caulk cracks in the Antelope Valley heat. It’s a sealant, not a flashing system.
- Sealing the weep holes. Those little openings move water out. Block them and the frame rots from inside.
- Buying the cheapest box-store unit for a West Lancaster wall that takes afternoon sun. The right energy performance for the climate zone matters as much as the brand. Match the product to the exposure.
- Getting a verbal quote and a verbal promise. If the scope and the flashing details aren’t written down, you have no recourse when the wall starts to bubble. Get it on paper.
- Assuming the inspector certified it leak-proof. They checked code compliance, not waterproofing. The envelope is the installer’s responsibility.
When to Call a Professional
Call a professional the moment the job opens the building envelope – removing a full window or exterior door, cutting a new opening, or repairing rot behind the frame. Call if the unit is above the first floor, if the opening needs structural work, or if you’re not certain about flashing sequence and sill-pan details. Call if you’ve already installed a unit and you’re seeing water stains or drafts, because the fix gets more expensive the longer it waits. And call if you simply want a written bid that spells out the flashing, the permit, and the air sealing before anyone starts.
Barrett & Sons Construction Lancaster offers free estimates in Lancaster – call (888) 427-1810. We’ll walk the job, explain the envelope details in plain terms, and put the scope in writing.
See the difference
 Before
 After
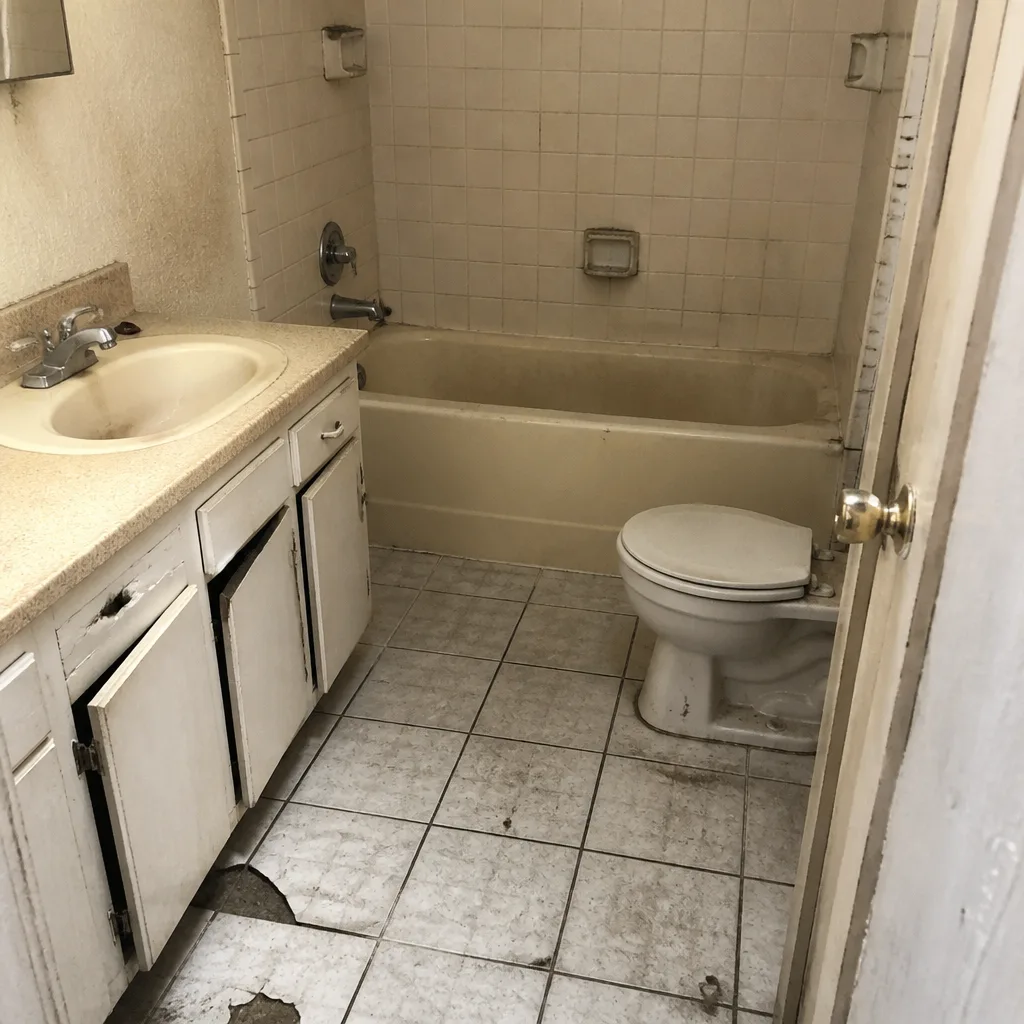 Before
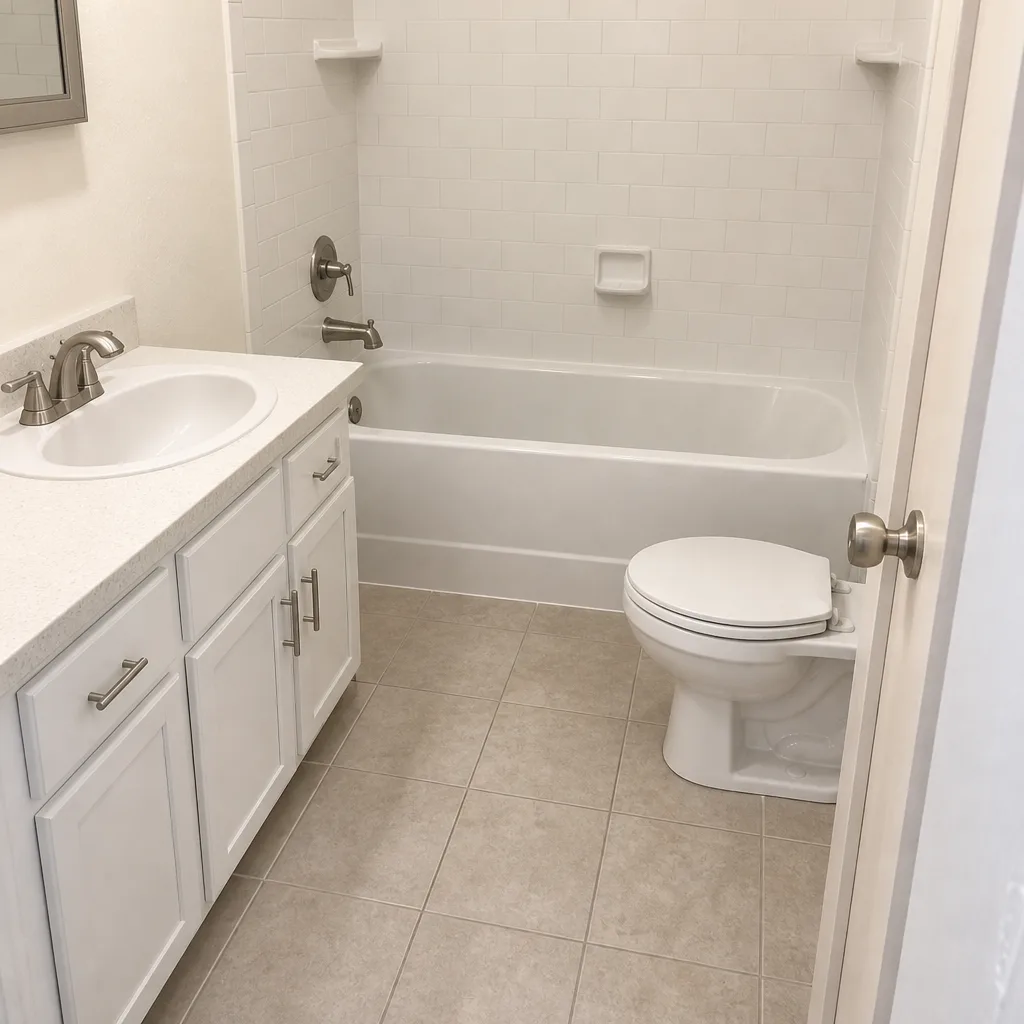 After
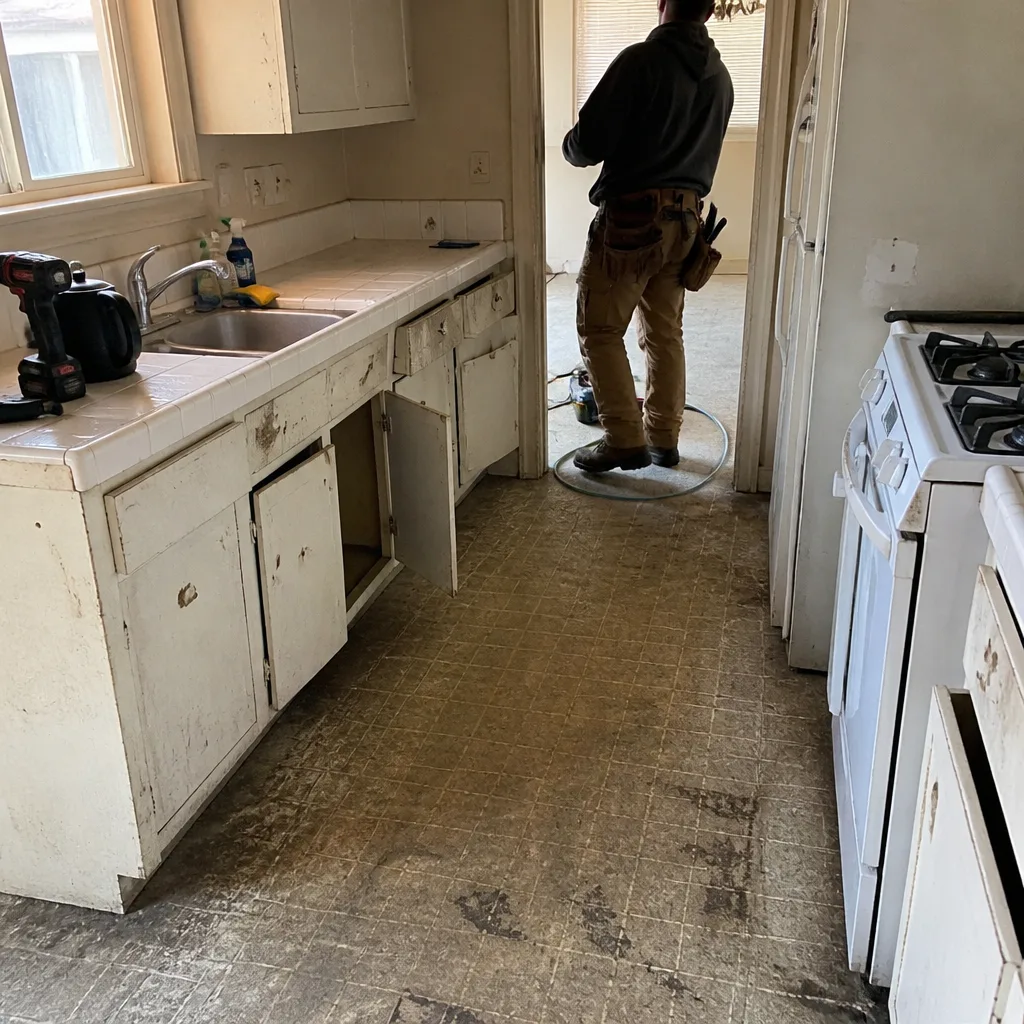 Before
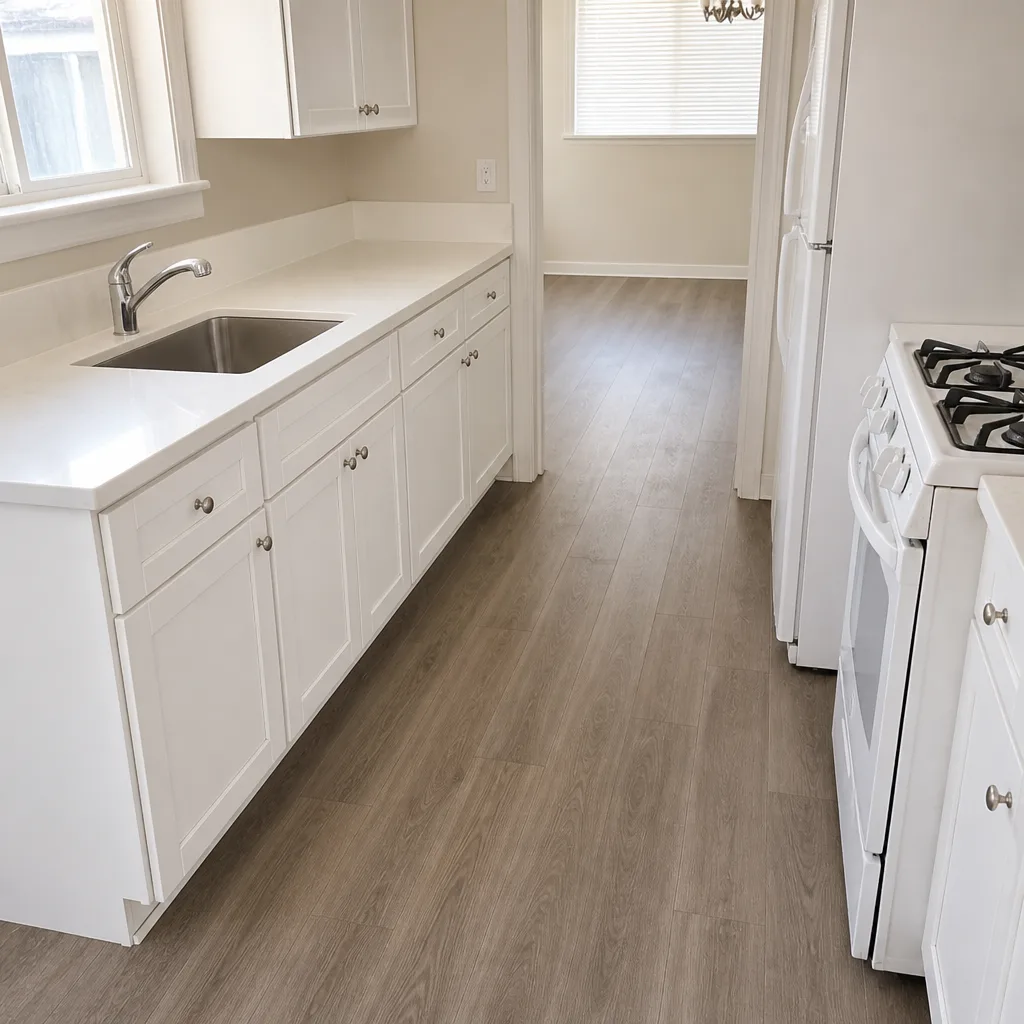 After
Frequently Asked Questions
You can handle the trim, hardware, weatherstripping, and painting, but replacing the full window unit breaks the building envelope and should be done by an experienced installer. The risk isn’t the visible carpentry; it’s the sill pan, flashing order, and air sealing you can’t inspect afterward. If you’re unsure, call (888) 427-1810 for a free estimate.
It can, depending on whether the job involves structural changes, a changed opening, or certain energy-code conditions. The safe move is to ask before you start. A permit gets an inspector’s look at egress and framing, and the inspection is signed when the work passes. We pull permits and get inspections signed on every eligible job.
It checks code compliance – egress sizing, structural framing, energy performance for the climate zone, and any visible required flashing at the stage it can be seen. It does not certify that the flashing laps are in the right order or that the job will stay watertight for years. That part is on the installer.
It varies with how far the water damage has spread – a flashing repair is a much smaller job than a rotted rough opening and replaced drywall. The real cost is often the hidden damage behind the wall. Call (888) 427-1810 for a free second opinion on any written estimate, so you know the true scope before you commit.
Up front, usually yes. Over time, it often costs less, because the envelope work is what prevents water damage, drafts, and rework – and a properly permitted, guaranteed install is a real asset. We give a written bid with the flashing, sill-pan, and permit details spelled out, so you can compare on more than the sticker price.
Most single-unit replacements are done within a day, and a whole-house set usually runs several days depending on the number of units and any framing repairs uncovered. The job is scheduled, not rushed – there’s no same-day promise on an install, because doing the envelope work right takes the time it takes. Call (888) 427-1810 to schedule your free estimate.
The Bottom Line
DIY is smart for interior trim, hardware, weatherstripping, and painting – the parts that don’t break the building envelope. The moment the job involves pulling a full window or exterior door and re-sealing the wall, the real work is waterproofing and air sealing, and the failure won’t show until the third rainstorm. Pull the permit, watch the flashing order, get a written bid that names the sill pan and the air-seal detail, and don’t let a cheap quote skip the invisible parts. If you want the envelope done right in Lancaster, we’re twenty minutes away and happy to give you a free estimate.
Call Barrett & Sons Construction Lancaster at (888) 427-1810 for a free estimate, a written scope with every allowance on paper, and a 90-Day Done Right Promise on the finished job. A live person answers the phone, day or night.
Written by the team at Barrett & Sons Construction Lancaster.