
Last updated November 17, 2026
 Home additions & ADU
 Kitchen remodeling
 Bathroom remodeling
 Roofing
 Windows & doors
 Driveway & pavers
 Fence
Free written scope consultation - allowances, timeline, and change-order rules on paper before a single trade is scheduled
Home Additions & ADU Maintenance Schedule: What to Do and When
Most addition warranties expire at twelve months. The problems they’re meant to cover – settling joints, caulk failure, flashing gaps – typically surface between months 14 and 24, when nobody’s watching. An ADU or a new wing is a new structure grafted onto an older one, and the seams between them follow their own rules. Lancaster’s high desert swings – 100°F summers, hard freezes in winter – push on those seams harder than a coastal climate ever will. This guide gives you a season-by-season schedule: what to check, when, and which findings mean you should call back the crew that built it.
Quick Answer
Inspect a new addition or ADU at month 1, 6, and 12, then twice a year after that: once in fall before Lancaster’s rainy season and once in spring after the freeze cycle. Focus every inspection on the connection points – roof-to-wall flashing, caulk and sealant joints, stucco cracks, doors and windows at the tie-in, and new HVAC runs. Keep a dated written log of everything you find and every repair. That log is your proof if warranty work is ever disputed or if you sell.
Styles & brands we work with
- Kitchen remodeling
- Bathroom remodeling
- Home additions & ADU
- Roofing
- Windows & doors
- Driveway & pavers
- Fence
Table of Contents
- The First-Year Inspection Checklist
- Settling vs. a Real Problem: What to Report
- How Lancaster’s Climate Attacks the Seams
- HVAC and Duct Checks When an Addition Shares a System
- Roof-to-Wall Flashing and Gutters: Timing the Rainy Season
- Stucco, Paint, and Exterior Seal Calendar
- Keeping a Maintenance Log That Protects You
- The Full Year-at-a-Glance Schedule
The First-Year Inspection Checklist
A new addition settles. That’s normal and it’s expected – what matters is what settling does at the seams between the new structure and the old house. Walk the job at month 1 (after framing is fully dried in and the stucco has cured), month 6, and month 12. Here’s what to check at each pass.
- Caulk and sealant at every tie-in. Run a thumb along the joints where new stucco meets old stucco, where the new roof meets the existing wall, and around every new window and door. Any joint that pulls away from the wall or shows a hairline gap is a candidate for re-caulking before the first rainy season.
- Interior drywall at door and window corners. Look for hairline cracks radiating from corners. A crack under a sixteenth of an inch in the first year is common. A crack that widens between inspections is not.
- Doors that were true at handover. Every new exterior door should open and latch with a light push. If a door that shut cleanly in month 1 drags or sticks by month 6, that’s settling movement worth noting and watching.
- Flashing at roof-to-wall junctions. Examine the step flashing and counterflashing where the new roof plane meets the existing wall. Look for lifted edges, missing sealant at the top edge, or daylight visible from inside the attic access.
- Concrete slab and foundation edges. Note any new cracks in the slab, patio, or steps tied to the addition. Hairlines at control joints are expected. Cracks wider than a credit card, or step-offs in the slab surface, warrant a callback.
- HVAC supply and return. Confirm the new addition heats and cools to within a few degrees of the main house at both the register and the return. A room that runs hot in summer is often a duct sizing issue, not a thermostat issue.
Take dated photos of every check. If something looks off, send the photo to the contractor before you touch it. On a Barrett & Sons home addition in Lancaster, the crew walks that first-year checklist with you, and anything that fails comes back to us under the 90-Day Done Right Promise and our written change-order process.
Settling vs. a Real Problem: What to Report
Every new structure moves. Lumber dries, stucco cures, and the ground under a fresh foundation compresses slightly in the first year. The trick is telling the harmless movement from the kind that needs a call. Here’s the rule we use.
Normal settling you can watch:
- Hairline drywall cracks under 1/16 inch at door and window corners in the first 12 months.
- Caulk joints that open by a credit-card thickness at exterior corners over the first summer.
- A door or window that needs a quarter turn of the latch in the first year.
- Shrinkage cracks in new stucco that follow the mesh pattern and stay under hairline width.
What you should report right away:
- Any crack wider than 1/8 inch, or a crack that grows between two inspections.
- Doors or windows that no longer latch at all, especially if they worked fine three months earlier.
- Water stains on interior drywall at the ceiling line or above a window – this means the flashing is failing, and it gets worse with every rain.
- Visible separation where the new foundation meets the existing slab.
- Floors that slope noticeably toward one wall.
Write the date, the location, and the measurement in your log every time you check. A crack from 1/16 to 1/8 inch over eight months tells a different story than the same crack appearing overnight. That history is exactly what a contractor needs to know whether to send a crew or to reassure you.
How Lancaster’s Climate Attacks the Seams
Lancaster sits on the high desert floor of the Antelope Valley, and the swing between July and January is brutal on exterior sealants. A summer afternoon at 100°F expands the stucco and caulk. A winter night at 20°F contracts them. Repeat that 300 times a year and the sealant at every tie-in takes more wear in 24 months than the same sealant would take in five years on the coast. That’s the single biggest reason this maintenance schedule matters more here than a generic national guide will tell you.
What that means in practice:
- Caulk joints fail faster. Exterior caulk on the sunny side of an addition (south and west facing, for most Lancaster homes) can fail in 18-24 months. Plan on re-caulking the sun-facing joints at least once every two years, more often on a north-side addition that catches reflected heat off a west wall.
- Stucco cracks multiply. Thermal cycling widens every existing hairline. Inspect stucco in October, before the freeze season, so small cracks get sealed before water can work in.
- Wind-driven dust loads gutters. Lancaster’s spring winds push dust and tumbleweed debris into every roof gutter. Clear the gutters before the December rain window opens, and again after the first spring windstorm.
- Freeze risk at the hose bib and slab edges. Any exterior plumbing or slab penetration on the new addition needs to be winterized. One hard overnight freeze is all it takes to split a hose bib.
Lancaster homes on the west side of the valley and up in Quartz Hill catch more sun and more wind than the east side, and additions built against a west-facing wall take the hardest hit. When we build in Lancaster, we spec exterior sealants rated for the temperature swing and we still tell homeowners to plan on the two-year re-caulk. If the original builder used a coastal-grade caulk, plan on sooner.
HVAC and Duct Checks When an Addition Shares a System
An addition that shares the existing HVAC system is the most common – and the most common source of callbacks we see. The original system was sized for the original square footage. Add a 400-square-foot ADU to a 1,800-square-foot house and the system is suddenly moving air through 22% more space. It can work, but it needs to be checked, ducted correctly, and balanced at the registers.
- Change the filter at every 60 days for the first year. The new construction dust, drywall grit, and stucco particles load the filter fast in the first six months. After the first year, switch to every 90 days, and every 60 days during the summer cooling season in Lancaster.
- Inspect the ducts in the attic at month 3 and month 12. Look for disconnected joints, sagging flex duct, or crushed runs where someone sat on the duct. New ducts in a hot attic are where leaks start.
- Check the register temperature at the addition. Use a simple thermometer. The supply air at the new addition’s register should measure within 8-10°F of the room temperature when the system has been running. If the room runs hot in July, the duct run is likely undersized or the return path is blocked.
- Balance the dampers every season change. In a shared-system addition, the dampers at the branch takeoffs let you push more air to the new addition in summer and to the main house in winter. Mark the original positions with tape so you can return to them.
- Get a professional service call once a year before the cooling season – typically March or April in Lancaster. Have the contractor check the charge, the blower, and the duct static pressure with the addition registers open.
If the addition runs a separate mini-split or its own system, the maintenance is simpler: clean or replace filters every 90 days, wash the outdoor coil once a year with a garden hose, and check the condensate drain line before summer. In our experience, mini-splits in Lancaster serve additions well, and a quiet annual wash of the outdoor unit stretches the equipment life.
Roof-to-Wall Flashing and Gutters: Timing the Rainy Season
Lancaster’s rainy window is typically December through March. That’s the schedule driver for the most important exterior inspection of the year. Every roof-to-wall junction where the new addition ties into the old house is a candidate for flashing failure, and the failure shows up in your living room ceiling three days after the first real rain.
Here’s the fall routine we recommend for every Lancaster addition:
- Late October – walk the roof edges and gutters. From a ladder at the gutter line, look at the step flashing where the new roof meets the old wall. Lift the top edge with a putty knife and look for cracked sealant. Clear any debris from the gutters and downspouts.
- Early November – examine the interior ceiling line. Use a flashlight at the ceiling junction under every roof-to-wall tie-in. Any brown ring or water stain means water is getting behind the flashing and needs attention before the rain starts.
- December through March – check after every major storm. Two minutes with a flashlight at the interior ceiling, and a walk around the exterior for missing shingles and clogged downspouts. Note anything that looks off in the maintenance log.
- April – post-rain inspection. Look for lifted sealant at the flashing, loose gutter hangers, and any sign of water staining at the interior ceiling. This is when the winter’s damage reveals itself.
On the roof itself, additions in Lancaster carry a mix. Some are finished in GAF or CertainTeed shingles to match the original house; some use a metal or foam system. Shingle additions follow the same inspection timing as the original roof – walk the edges twice a year, and plan on a professional inspection every three to five years. Metal additions need the fasteners checked once a year because thermal movement loosens screws and sealant washers over time. In our experience, metal roof screws at the north edge of an addition are the first to back out.
For more on the structural side of roof-to-wall junctions, see our Home Additions & ADU in Lancaster page, which covers how the tie-in is built in the first place.
Stucco, Paint, and Exterior Seal Calendar
Exterior paint and stucco on an addition need a scheduled refresh cycle that’s shorter than what a national guide will suggest. Lancaster’s UV load and the summer-to-winter swing cut typical intervals by roughly a third.
- Caulk and sealant. Inspect every six months. Re-caulk sun-facing joints every two years, or sooner if you see any gap at the joint line. Use a high-grade exterior sealant rated for a wide temperature range.
- Stucco. Inspect every fall and spring. Seal hairline cracks under 1/8 inch with a stucco patching compound before the rain. Cracks wider than that should be looked at by a professional, because they’re a sign the substrate underneath has moved.
- Paint. The original exterior paint on a Lancaster addition usually runs 5-7 years on the sun-facing walls and 8-10 years on the shaded walls – shorter than the coastal paint cycle because the UV load is heavier. Plan on the first touch-up of trim at year 5.
- Window and door seal. Every new exterior window on the addition should get its perimeter seal checked twice a year. Water at the interior sill is the warning sign. PGT and CGI windows and doors are common on the additions we build in Lancaster; both hold up well when the perimeter sealant is kept up, and both fail at the perimeter when it isn’t.
- Exterior lighting and outlets. Test the exterior GFCI outlets on the addition every six months by pressing the test button. Lancaster’s dust and heat can leave the mechanism sticky.
The fall and spring inspection is the calendar backbone. Do it before the December rain and again after the last freeze, and you’ll catch the small stuff before it turns into a repair.
Keeping a Maintenance Log That Protects You
The maintenance log is boring and it’s the most valuable document you’ll keep on the addition. It protects you in three ways: it’s your proof if warranty work is ever disputed, it’s the buyer’s confidence document when you list the house, and it tells your own contractor or future contractor exactly what’s been done.
Keep it in a binder or a shared digital folder. Here’s what to record every time you check:
- Date and weather at the inspection (Lancaster’s 110°F days tell a story the same way a 25°F freeze does).
- What you checked and what you found – measurements on cracks, registers, thermostat deltas.
- Photos with the date and location of each photo in the file name.
- Any repair, reseal, or re-caulk with the product used and the date.
- Contractor visits – who came, what they did, and whether it was warranty work or a paid call.
If a warranty issue comes up between builders and homeowners, the log is what settles it. A homeowner who can show a hairline crack documented at month 6 that widened to 1/8 inch by month 14 has a much stronger case than one who noticed the crack yesterday. Barrett & Sons keeps its own file on every Lancaster addition and issues a written change order any time a scope or allowance changes – the homeowner side of that file is the mirror image of ours.
The Full Year-at-a-Glance Schedule
Here’s the whole calendar in one place. Pin it to the garage wall and go down the list at each season.
Spring (March-May)
- Walk the roof edges and gutters after the last real rain.
- Inspect interior ceiling lines under every roof-to-wall tie-in.
- Check stucco for winter cracks; seal any that opened.
- Re-inspect caulk joints, especially on south and west walls.
- Service the HVAC before cooling season; change the filter.
- Test exterior GFCI outlets.
- Wash mini-split outdoor coils if the addition runs one.
Summer (June-August)
- Change the HVAC filter every 60 days through cooling season.
- Walk the addition exterior for stucco cracks after the first 100°F stretch.
- Check the attic duct runs for sagging or disconnected joints.
- Watch the register temperature in the addition – target within 8-10°F of room temperature.
- Trim any trees or shrubs that have grown against the addition walls.
Fall (September-November)
- Clear gutters and downspouts before the rain window opens.
- Inspect and re-caulk any joint that opened over the summer.
- Walk the step flashing at every roof-to-wall junction.
- Winterize the hose bib and any exterior plumbing on the addition.
- Get the annual HVAC service call before cold weather.
- Re-seal any stucco cracks that opened over the summer.
Winter (December-February)
- Check interior ceiling and window sills after every major storm.
- Note any water infiltration in the log immediately.
- Confirm heating is balanced between main house and addition.
- Walk the exterior after freeze nights and note any new cracks or lifted caulk.
Common Mistakes to Avoid
- Skipping the month 14-24 window entirely. The first year gets watched; the second year gets ignored. That’s exactly when the flashing gaps and caulk failures surface. Put a reminder in your calendar for both years.
- Caulking a wet joint. A joint that gets caulked before it’s fully dry traps water against the substrate and rots the lumber behind it. Do caulk work in Lancaster’s dry season – spring or fall – never right after a rain.
- Assuming the HVAC system will “figure it out.” A shared-system addition that runs hot or cold is a duct and balance problem that gets worse, not better. Fix it in month 6, not month 24.
- Ignoring hairline cracks that slowly widen. Take a photo with a coin or a ruler for scale every six months. A crack that grows from 1/16 inch to 1/8 inch over eight months is a settling issue; one that stays at 1/16 inch is cosmetic.
- Not documenting anything. The single biggest mistake. A log costs you ten minutes a season and saves you a warranty headache down the road.
- Letting the builder’s warranty expire without a last walk-through. Schedule an inspection with your contractor at month 11 of the first year, before the workmanship warranty ends, and put everything you want addressed in writing before that date.
- Overlooking the drainage at the new slab. Lancaster’s rain comes down fast and runs hard. Confirm the new addition’s grading carries water away from the foundation, and correct any dip that has formed since construction.
See the difference
 Before
 After
 Before
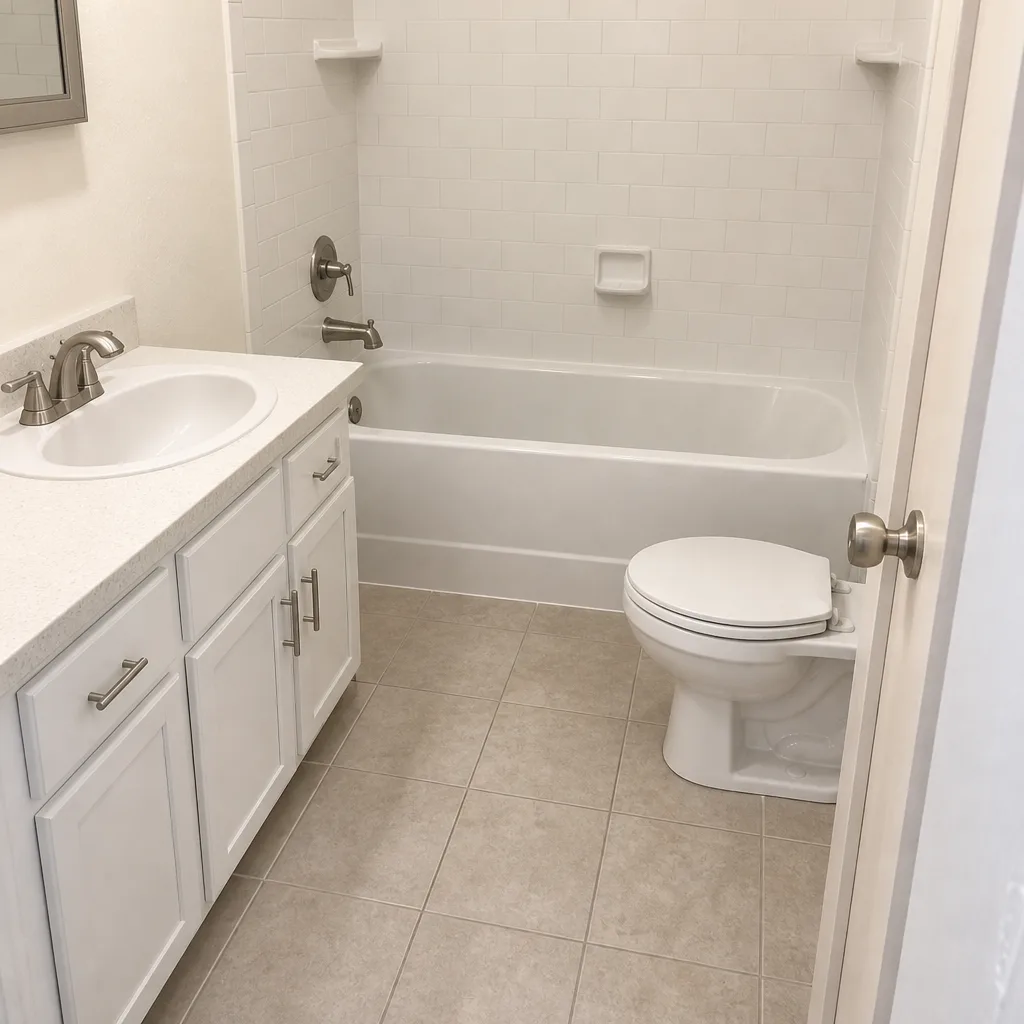 After
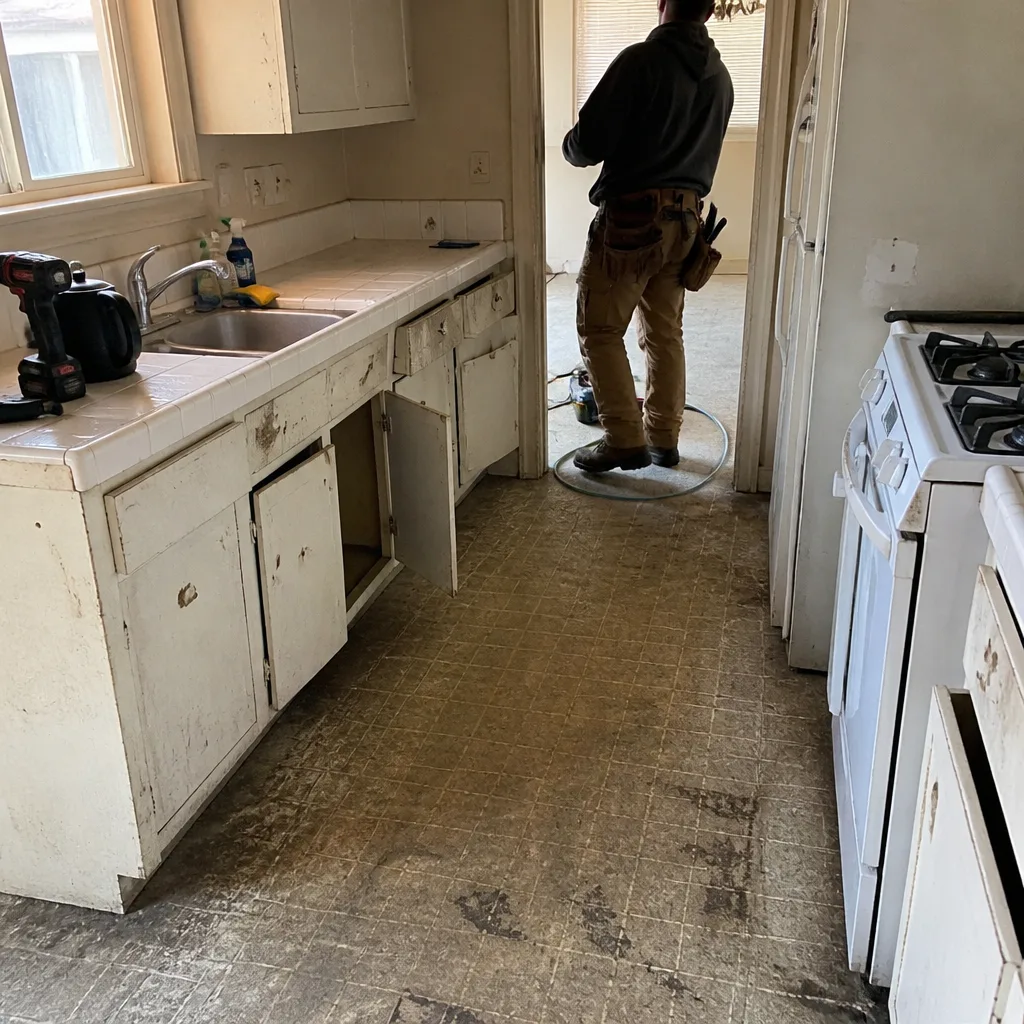 Before
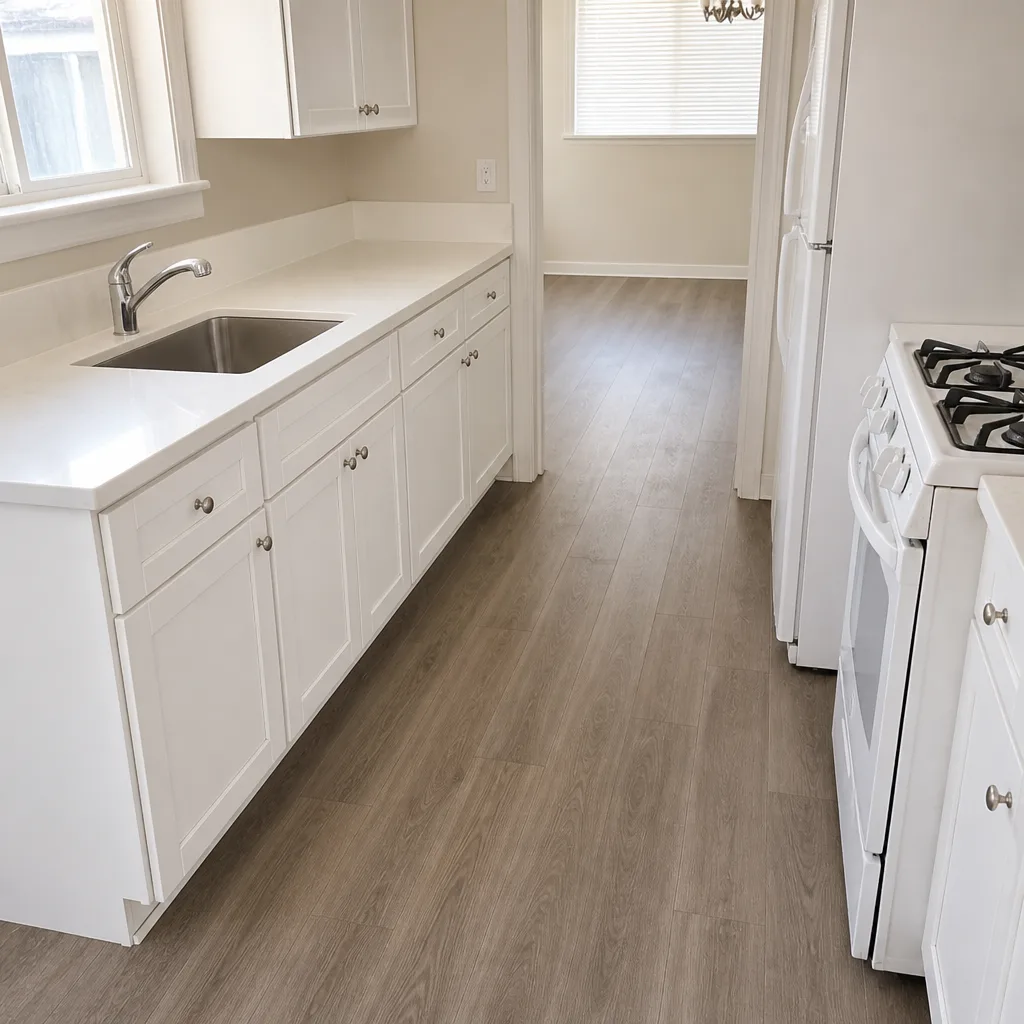 After
When to Call a Professional
Call a professional for anything that compromises the building envelope: water intrusion at the ceiling or window sill, a roof-to-wall flashing failure, cracks wider than 1/8 inch that are growing, or doors and windows that no longer latch. Also call for HVAC service if the addition runs hot or cold after the duct dampers are already balanced – undersized ducts and blower problems need someone with gauges, not a homeowner with a flashlight. Electrical, gas, and plumbing that runs into the addition are not DIY territory. If you’re not sure whether a finding is normal settling or a real problem, get the second opinion. A photo and a phone call cost you nothing, and catching a flashing gap before the December rain saves the interior ceiling. For Lancaster homeowners, we offer Barrett & Sons Construction Lancaster home service across the Antelope Valley with the same crew that builds the addition handling its first-year inspection, and no trip charge inside the county for the call-out. Call (888) 427-1810 for a free estimate.
Frequently Asked Questions
Inspect at month 1, 6, and 12 for the first year, then twice a year: once in late October before Lancaster’s rain window opens and once in April after the last freeze. That’s the minimum. A more thorough walk after every major storm is worth the ten minutes.
Hairline cracks under 1/16 inch are normal in the first year and often follow the lath mesh pattern. Cracks that open wider than 1/8 inch, or that grow between inspections, should be looked at by a professional. Lancaster’s summer-to-winter temperature swing widens cracks faster than a coastal climate does, so inspect twice a year here rather than once.
Every 60 days for the first year while construction dust clears, then every 90 days and every 60 days through Lancaster’s cooling season. If the addition shares the main house system, also check the duct joints in the attic at month 3 and month 12.
At month 11, before the workmanship warranty expires. Put everything you want addressed in a written list and send it before that date – not after. Anything documented before the warranty end is covered; anything documented after it isn’t.
Call a contractor immediately – that’s a flashing failure, and it gets worse with every rain. Don’t try to seal it from inside; the fix is on the roof side at the step flashing and counterflashing. Weather permitting, get the flashing inspection before the next storm.
Keep it for as long as you own the addition, and hand it to the buyer when you sell. The log is proof of every inspection and repair, which matters in a warranty dispute and builds buyer confidence when the house is listed. A binder or a shared folder works – just keep it current.
The Bottom Line
An addition or ADU is a new structure grafted onto an old one, and the tie-in is where the maintenance happens. Watch the seams first year at months 1, 6, and 12, then twice a year after that, in the fall before the rain and in the spring after the freeze. Lancaster’s thermal swing widens cracks and fails caulk faster than a coastal climate, so the schedule here is tighter than a generic guide will tell you. Keep the log. Do the warranty walk at month 11. If you want the crew that built it to handle the first-year inspection, Home Additions & ADU in Lancaster covers how we build and how we hand off. And when it’s time to re-caulk, re-seal the stucco, or plan the first exterior refresh, our Driveway & Pavers in Lancaster and Fence Installation in Lancaster crews can handle the exterior work in the same visit.
Barrett & Sons Construction Lancaster offers free estimates in Lancaster and across the Antelope Valley – call (888) 427-1810. Written change orders before any scope change, permits pulled and inspections signed on every eligible job, and the written 90-Day Done Right Promise on every completed job. Techs with up to 28 years of experience, premium brands under the same name on the truck, and the standing offers we keep on the books year-round: $40 Off Any Repair Over $200, Free Second Opinion on Any Written Estimate, No Trip Charge Inside the County, and the permanent 10% Senior & Veteran discount. Calls answered by a live person, 24/7.
Written by the team at Barrett & Sons Construction Lancaster.