
Last updated November 17, 2026
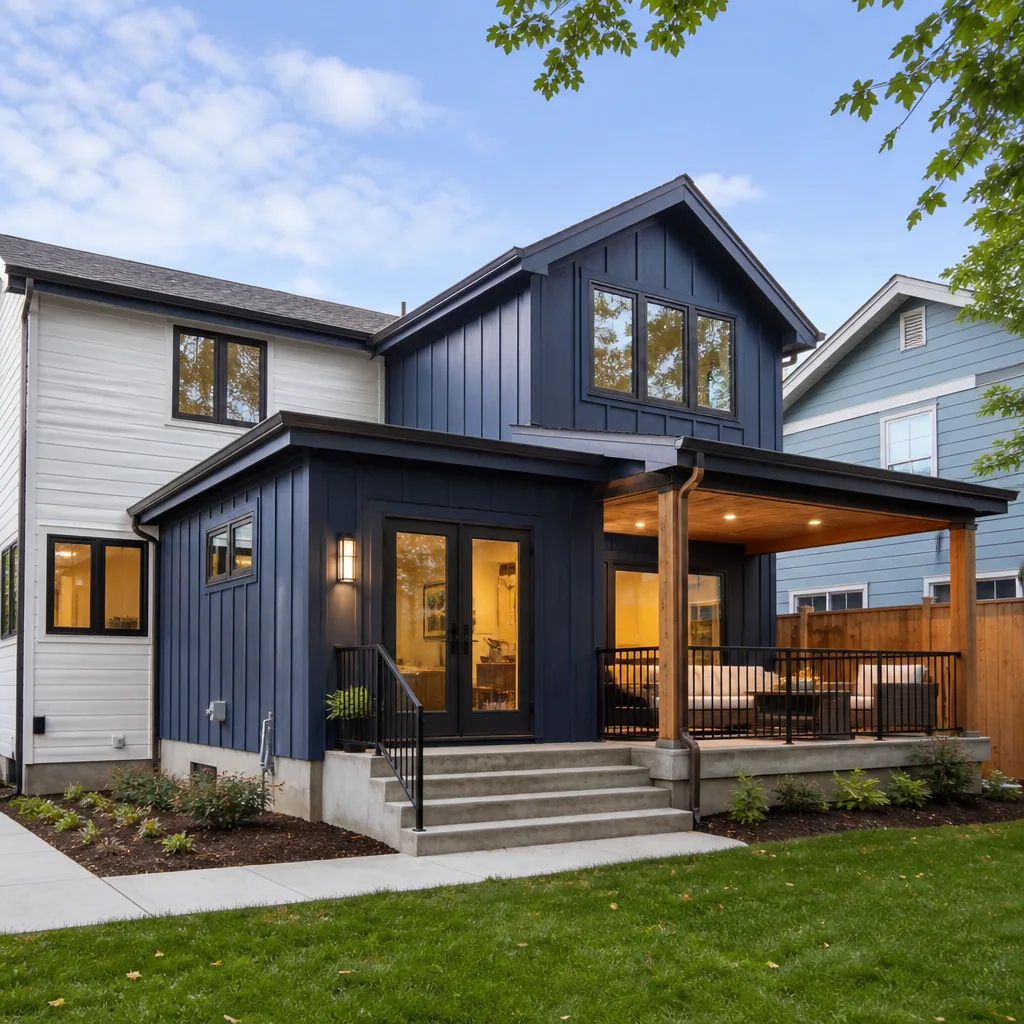 Home additions & ADU
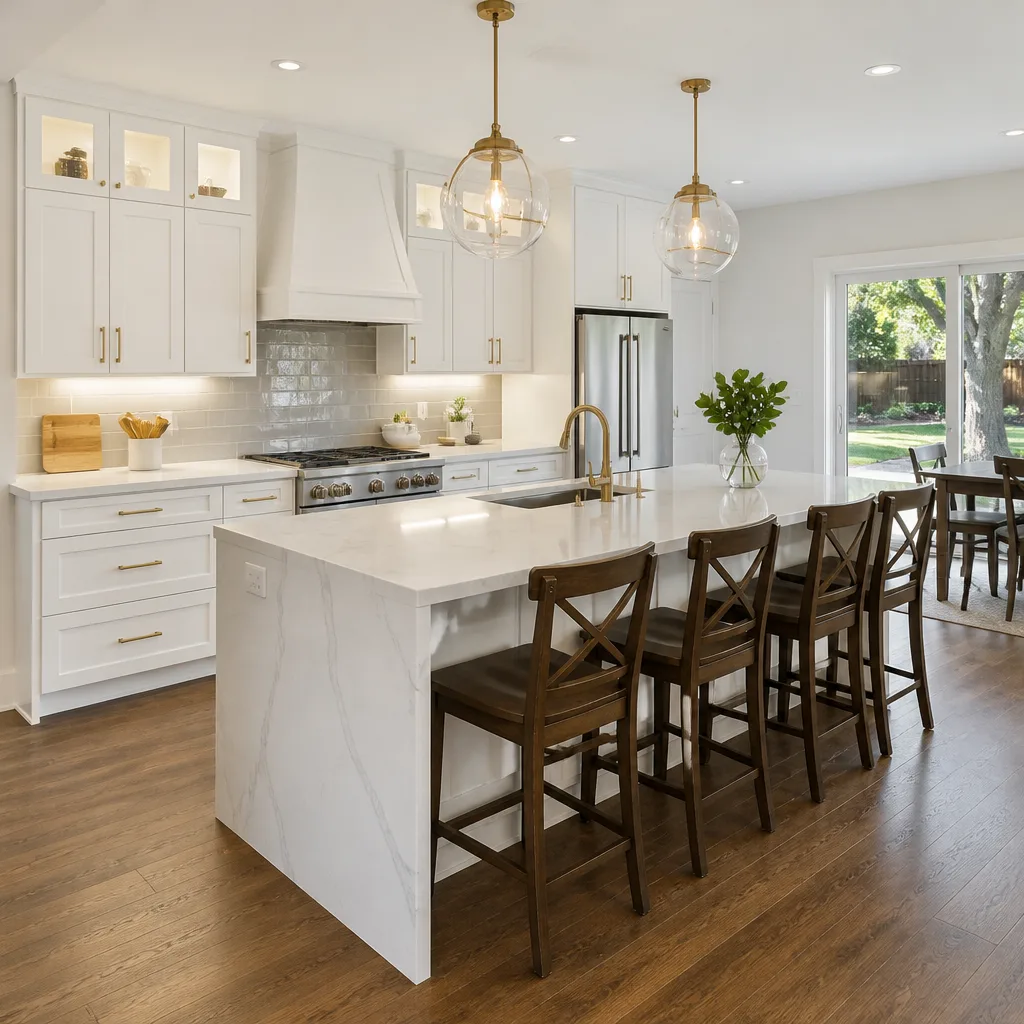 Kitchen remodeling
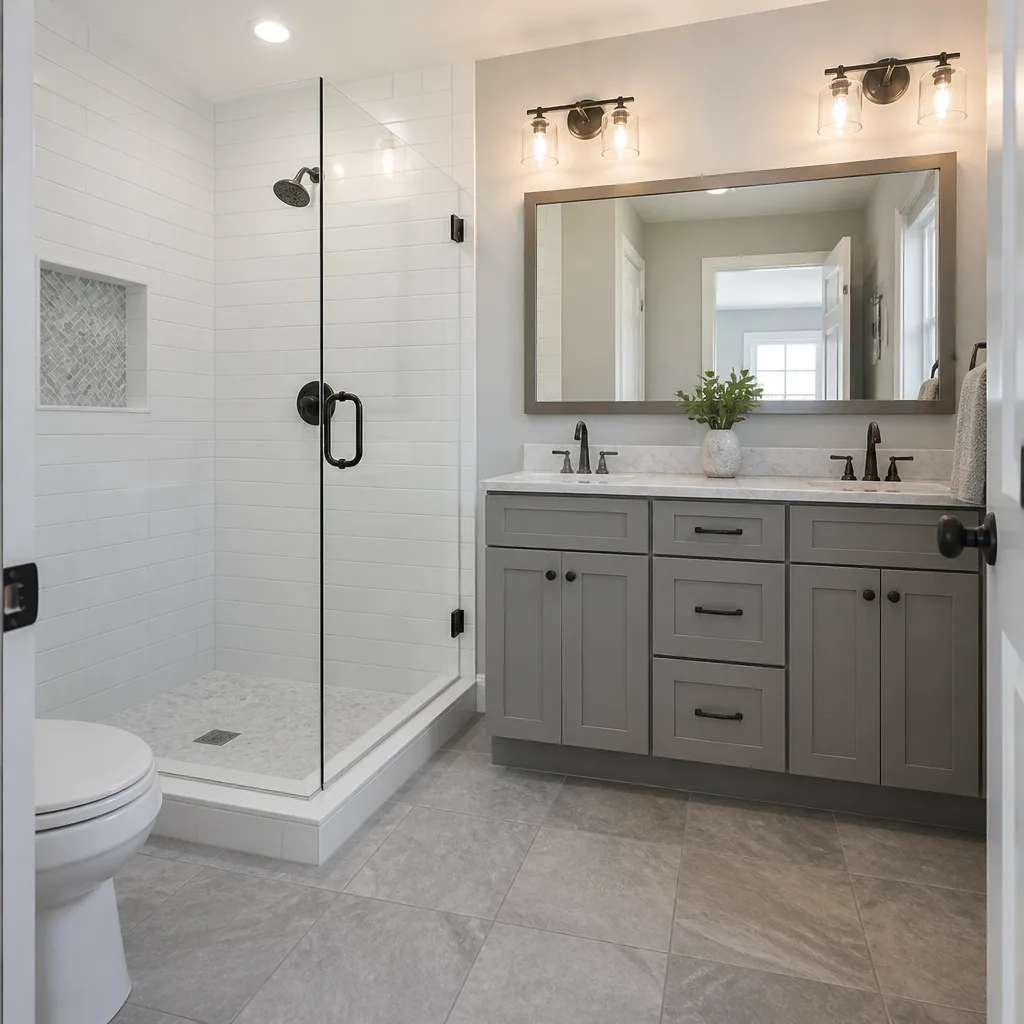 Bathroom remodeling
 Roofing
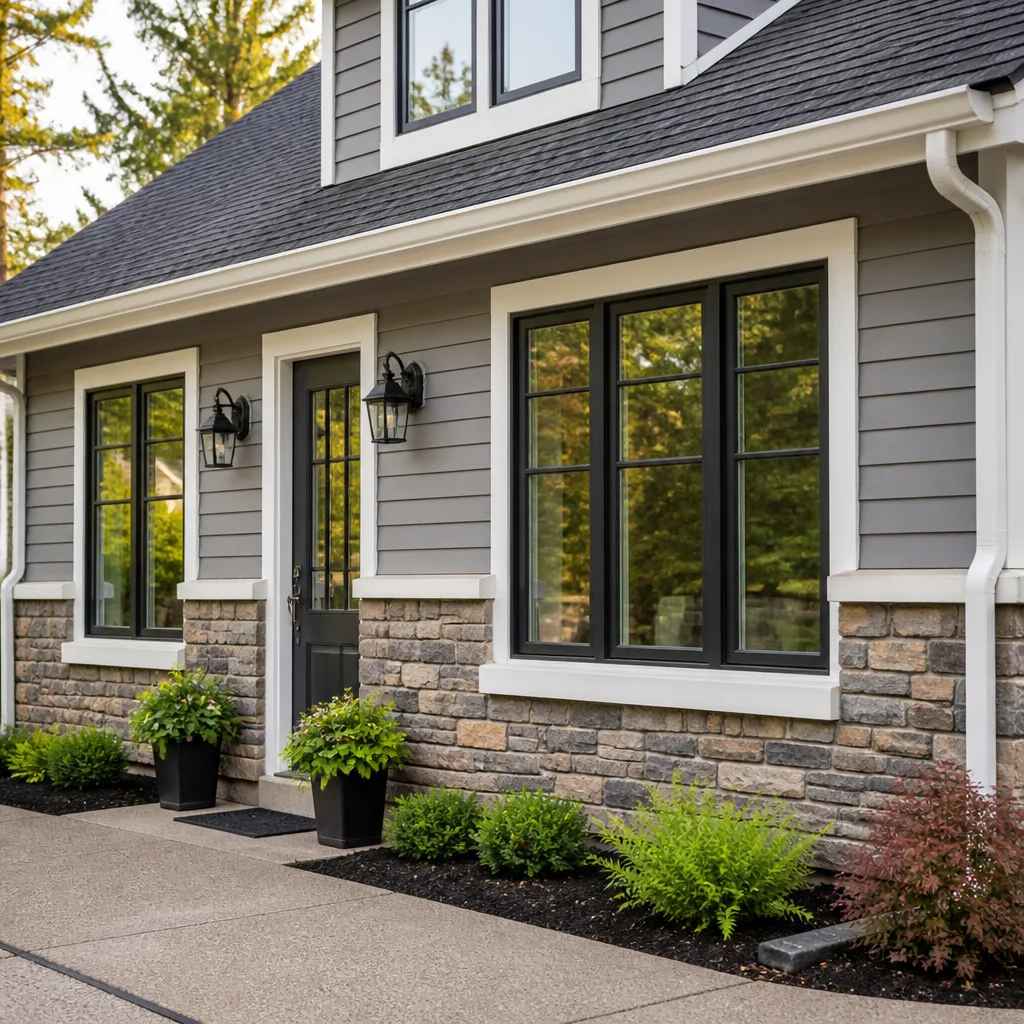 Windows & doors
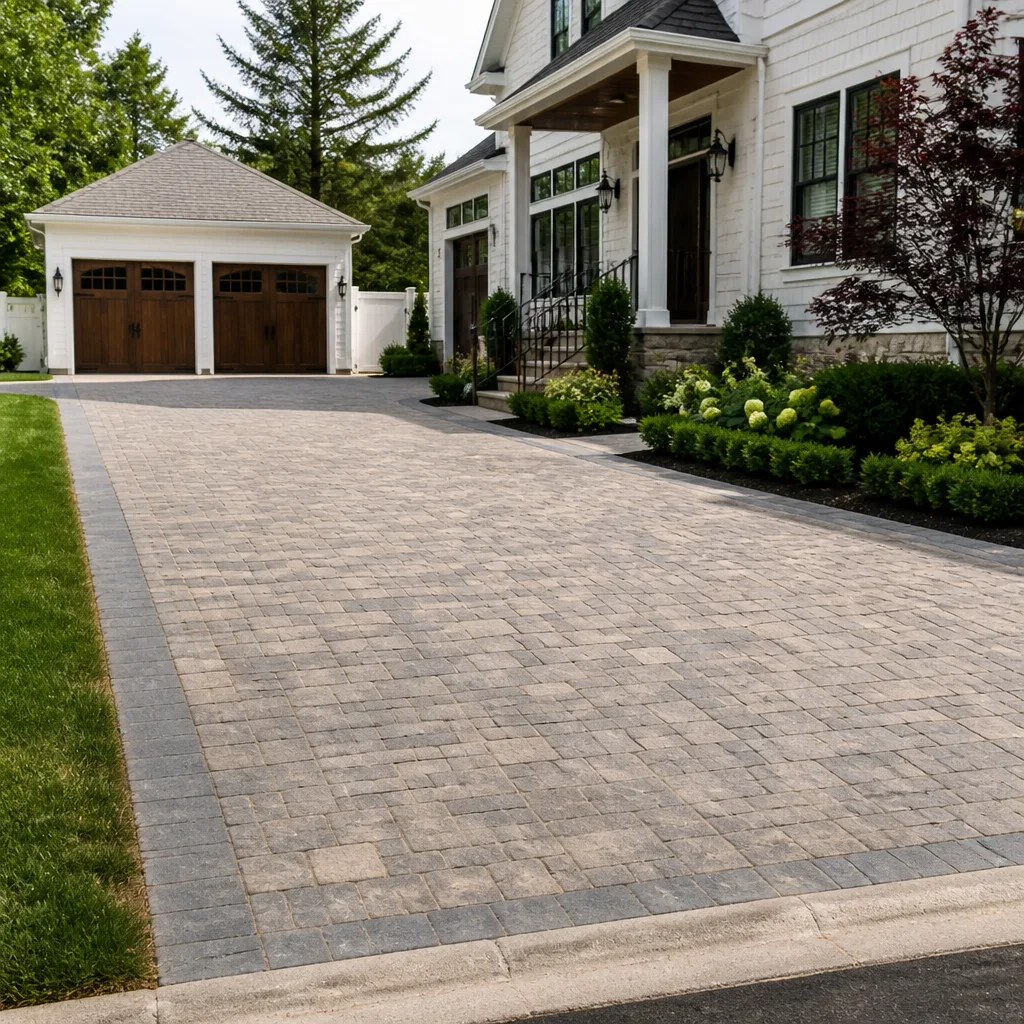 Driveway & pavers
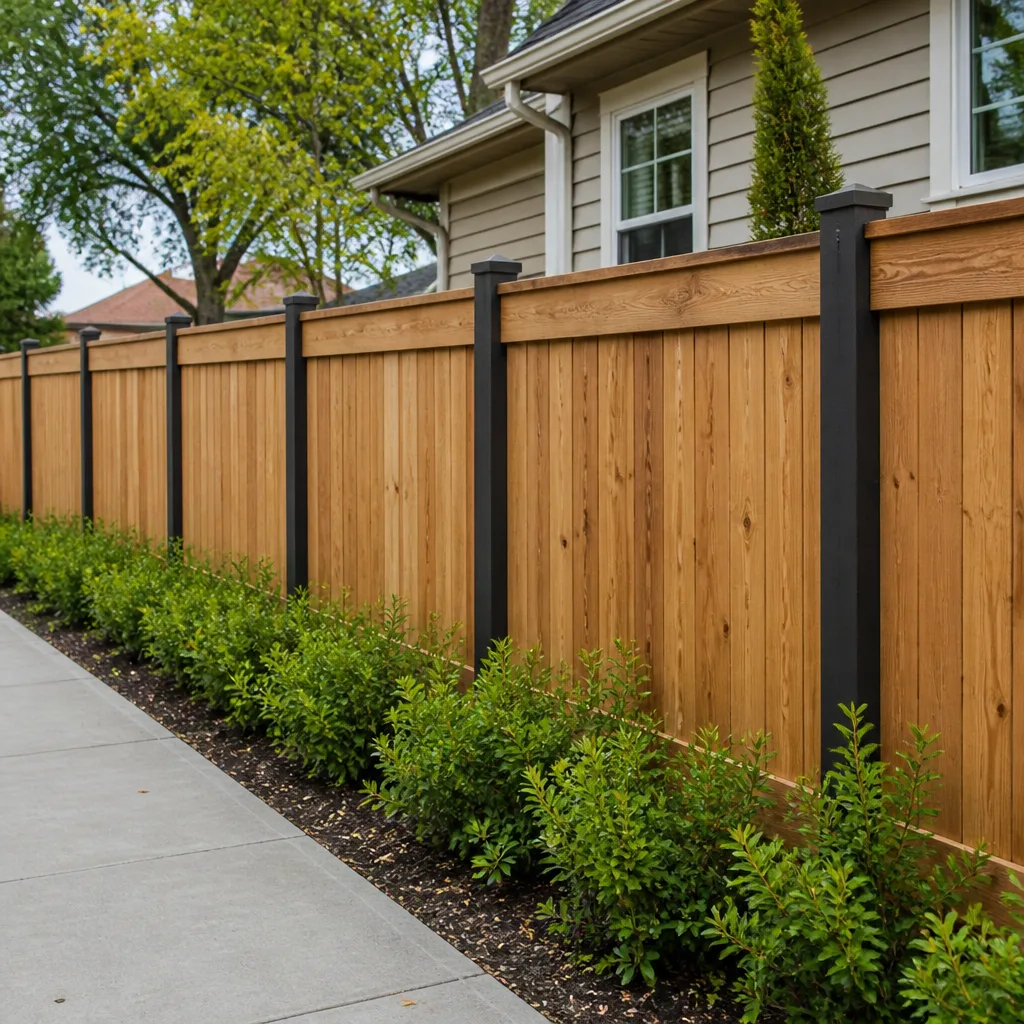 Fence
Free written scope consultation - allowances, timeline, and change-order rules on paper before a single trade is scheduled
Home Additions & ADU Troubleshooting: Common Problems and How to Fix Them
Here’s a detail that surprises most homeowners: the number-one complaint we hear about finished ADUs isn’t the contractor, the schedule, or the budget. It’s a leaking roof-to-wall connection where the framers figured the roofers would handle the flashing and the roofers figured the framers already had. That one assumption, made in week two, shows up as a water stain on a new ceiling two winters later. In Lancaster, where the sun is brutal for eight months and rain arrives sideways in December, that detail gets tested fast. This guide names the failures we’ve actually seen, where they start, and what it takes to make them right.
Quick Answer
Most home addition and ADU problems aren’t found at move-in. They surface at the first rough-in inspection, the first hard rain, or the first summer utility bill, and they usually trace back to a rushed decision made early: an under-flashed roof transition, a new slab tied to an old footing without proper detailing, or an HVAC system pushed past the capacity of the existing setup. Fixing them after the fact costs more than doing them right, which is why the fix usually starts with catching them before drywall goes up.
Styles & brands we work with
- Kitchen remodeling
- Bathroom remodeling
- Home additions & ADU
- Roofing
- Windows & doors
- Driveway & pavers
- Fence
Table of Contents
- Why additions fail inspection in LA County
- Foundation-to-existing-structure connections
- HVAC and electrical capacity overload
- Water intrusion at the new-to-old roofline
- ADU setbacks and clearance problems
- Permit and plan-check traps
- What to do when a finished addition has a defect
Why Additions Fail Inspection in LA County
The most common plan-check and rough-in failures in Los Angeles County building departments aren’t dramatic structural issues. They’re paperwork and detail failures that cost re-inspection fees and stall the job by a week or more each time.
The ones we see most often:
- Shear-wall nailing not per plan. Plans specify nailing schedules and hold-downs at specific locations, and crews sometimes default to standard nailing. The inspector catches it and the wall has to be opened up.
- Missing or misplaced anchor bolts. Slab-edge bolts at the wrong spacing or embedded too close to the edge fail the foundation inspection.
- Framing connectors not the specified hardware. A joist hanger is a joist hanger to the eye, but the plan calls for a specific Simpson model and the inspector checks the stamp.
- Energy-code documentation missing. Title 24 compliance forms have to be on-site and match the installed materials, including window U-values and insulation R-values.
- Fire-blocking at floor and ceiling lines skipped. Easy to miss, hard to fix after drywall.
Re-inspection fees in most LA County jurisdictions run $100 to $200 per visit and stack up if a job fails more than once. The larger cost is time: every re-inspection adds roughly three to seven business days. In Lancaster, where summer heat slows exterior work, a two-week stall in August can push finish dates by a month. The fix is boring and effective: a written inspection checklist at each phase, a pre-inspection walk with the crew lead, and photos of every concealed detail before it gets buried.
Foundation-to-Existing-Structure Connections
Where the new slab meets the old footing is the most structurally critical detail on any addition, and it’s also the most frequently rushed. On a Lancaster project, we’ve seen foundations poured with the new slab just butted against the existing stem wall, no dowels, no keyway, no positive connection. That’s two structures side by side, not one building. When the soil shifts the way it does around the Antelope Valley, you get differential movement, drywall cracks running along the seam, and a door that sticks every summer.
What a proper connection includes:
- Exposed and cleaned existing footing. The old concrete has to be chipped back to sound material, not just dusted off.
- Epoxy-set dowels at engineered spacing. Typically #4 or #5 rebar, drilled, cleaned, and epoxied per the structural plan, tying the new slab into the existing wall.
- Over-excavation and recompaction of the foundation soils. Around Lancaster, caliche layers and expansive clays both exist, and the engineer’s soil report drives how deep and what treatment is required.
- Keyway or roughened joint at the interface. This keeps the two concrete pours locked together laterally.
- Pre-pour inspection and photo documentation. The inspector needs to see the dowels before the concrete goes in, and the homeowner should get the photos.
Skip any of these and the failure won’t appear for a year or two, but it will appear. The repair, once the addition is finished, involves saw-cutting and refastening through the finish floor, which is a costly and disruptive job nobody wants.
HVAC and Electrical Capacity Overload
An addition that shares the main house’s ductwork and electrical panel is a common way to save money at the design table, and a common way to end up with a room that’s too hot in July and a breaker that trips when the microwave and the coffee maker run together.
The electrical side first. An addition typically adds a bedroom, a bathroom, a kitchenette, or a laundry, and each of those draws real load. If the existing panel is already near capacity, the electrical contractor has to either upgrade the service (often $2,500 to $6,000 for a 200-amp upgrade in the Lancaster area, depending on the utility connection work) or design a subpanel with load calculations on paper. Pulling the subpanel without a load calc is the mistake that fails inspection and, if it’s missed, causes the breaker nuisance later.
The HVAC side is similar. An addition that shares the main trunk line rarely gets enough airflow. Duct runs get too long, static pressure climbs, and the new room is either hot or cold depending on the season. In our experience, a dedicated mini-split system ($4,000 to $8,000 installed for most ADU-sized rooms in Lancaster) or a separate small package unit is often cheaper over 10 years than trying to force the main system to cover it, once you add up the service calls and the energy bills.
What to check at design time:
- A written load calculation (Manual J) that includes the addition.
- A written electrical load calc, not a gut check.
- Duct design specific to the new square footage, not a tie-in to the existing trunk.
- An energy-code check for the new room’s insulation and glazing, which directly affects the HVAC sizing.
Water Intrusion at the New-to-Old Roofline
This is the detail we opened with and the one that separates a roof that lasts ten years from a seam that leaks in two. The transition between the new addition’s roof and the existing house is where two roofers, two framers, and often two schedules meet, and it’s the single most common place for water to find a way in.
A proper flashing detail includes:
- Step flashing woven into the existing roof course, not nailed over the top of the shingles.
- Counter-flashing set into a reglet cut into the existing wall, sealed, and screwed, not just caulked.
- Ice-and-water shield extended 12 inches past the transition on both sides, especially important in Lancaster where the wind-driven December rain pushes water sideways.
- Kick-out flashing at the bottom of the wall termination to push water away from the siding and fascia.
- Housewrap lapped correctly over the flashing, not the other way around, so water that gets behind the siding still drains out.
On the materials side, we install CertainTeed and Owens Corning systems on transitions like this because the accessory flashing components are made for the same system as the shingles. Mismatched flashing is a real failure point. When you spec a roof, ask for the system by name, and ask to see the manufacturer’s detail drawing for the roof-to-wall transition before the roofers start.
ADU Setbacks and Clearance Problems in Lancaster
Lancaster’s ADU rules have loosened a lot in the last few years, but the details still catch homeowners off guard, especially on the smaller lots in older parts of town where the existing house already sits close to a side property line.
Common clearance problems:
- Rear and side setbacks measured from the wrong line. The setback applies to the ADU’s exterior wall, not to the eave or the foundation, and the measurement has to be documented on the plan.
- Fire-separation requirements between structures. If the ADU sits within a certain distance of the main house, wall construction has to meet a fire rating, and that calls for specific sheathing and detailing.
- Height limits and the two-story question. A detached two-story ADU has different setback and height rules than a single-story one, and the plan review will kick a set that doesn’t reflect that.
- Utility easements. Many Lancaster lots have drainage and utility easements running along a rear or side yard, and the ADU footprint can’t overlap them.
- Access for fire and emergency vehicles. A rear-yard ADU needs a clear path, and the local fire authority has a say in what counts.
The fix is a survey-based site plan before architectural drawings begin. Paying for a licensed survey early, typically $600 to $1,200 in the Lancaster area, saves you the redesign cost when the plan-checker catches an encroachment on a drawing that took six weeks to produce. For a deeper look at what an ADU project actually involves from start to finish, see our guide to Home Additions & ADU in Lancaster.
Permit and Plan-Check Traps
The single biggest avoidable expense on an addition or ADU is a permit that gets pulled wrong, or the plan submittal that goes in incomplete and bounces back three times. In LA County, the turnaround on a resubmittal can run two to four weeks each round, and the design fees add up fast when a homeowner is paying a drafter to fix the same set over and over.
The traps that cost the most time:
- Missing the geotechnical report. Most ADU submittals in the Antelope Valley need one, and it takes a few weeks to get on its own.
- Energy compliance done by a template. Title 24 performance software produces a report, but the inputs have to match the actual glazing, insulation, and HVAC system in the plans.
- Fire-hazard zone documentation missing. Lancaster sits in a high fire severity zone for much of the area, and the plan set needs the right exterior material specifications on file.
- Structural calculations not stamped by a California-licensed engineer. Out-of-state stamps are not accepted.
- Deferred submittals not listed. If you plan to add solar, a truss package, or a manufactured fireplace later, those have to be listed at plan check.
Our rule on every addition and ADU we run is simple: permits pulled and inspections signed on every eligible job. The permit inspector works for the homeowner, not the contractor. Our crews expect that inspection and schedule around it.
What to Do When a Finished Addition Has a Defect
You moved in, the ceiling stained, the floor buckled, the outlet sparked. Now what? California gives you more leverage than most homeowners realize, but only if you know the sequence.
- Document everything in writing. Photos, dates, a written description of the defect, and a written notice to the contractor. Email is fine if it’s timestamped and saved.
- Read your contract’s warranty section. A written warranty should specify what’s covered, for how long, and how a claim is made. With us, the 90-Day Done Right Promise is on every contract in writing: if it isn’t done right, one call brings Tom back to fix it. A written warranty like that is the first line of defense, and it should be visible before you sign anything.
- Ask for the certificate of insurance and the license bond info. In California, licensed contractors are required to carry a contractor’s license bond, which is a specific legal instrument that can be claimed against in certain circumstances. It isn’t a warranty, and it doesn’t cover everything, but it’s part of the enforcement chain.
- Request lien waivers. If a subcontractor was never paid, they can file a mechanics lien against your property even if you paid the general contractor. Proper lien waivers at each payment stage protect you from that.
- Verify the license. The Contractors State License Board lookup is free and takes thirty seconds. Tom Barrett publishes his name, his address, and his license number so you can look it up before you sign, not after.
- File a CSLB complaint if needed. For unresolved defects and unresponsive licensed contractors, the CSLB complaint process is a real remedy and it has teeth.
The best protection is at signing: a written warranty, a written change order process, lien waivers at each pay stage, and a license you verified yourself.
Common Mistakes to Avoid
- Signing a lump-sum bid without line-item scope. Two sentences later the “allowance” for cabinets becomes $12,000 more than you expected. Scope in writing, allowances in writing, change orders in writing, or don’t sign.
- Letting the contractor start without a permit. The last contractor most homeowners used told them permits were optional. In Lancaster, they aren’t, and a permit pulled after the fact usually means opening finished walls.
- Assuming the roof transition is someone else’s problem. If the framer and the roofer both think the other is flashing, neither is. Ask to see the detail drawing.
- Sharing the main HVAC and panel without a load calculation on paper. The first hot week in July tells you exactly how much that cost.
- Choosing the cheapest glazing to save on Title 24. Low U-value windows are not an upgrade in Lancaster, they’re a comfort decision you’ll feel every afternoon for 15 years.
- Paying cash draws without lien waivers. It feels efficient, and it leaves you exposed to a mechanics lien from a sub you never met.
- Hiring on a phone quote. If a crew quotes you a number on the phone and shows up with a different number at the door, that’s a tell. Ask anyone on your street, or look up the license number yourself.
See the difference
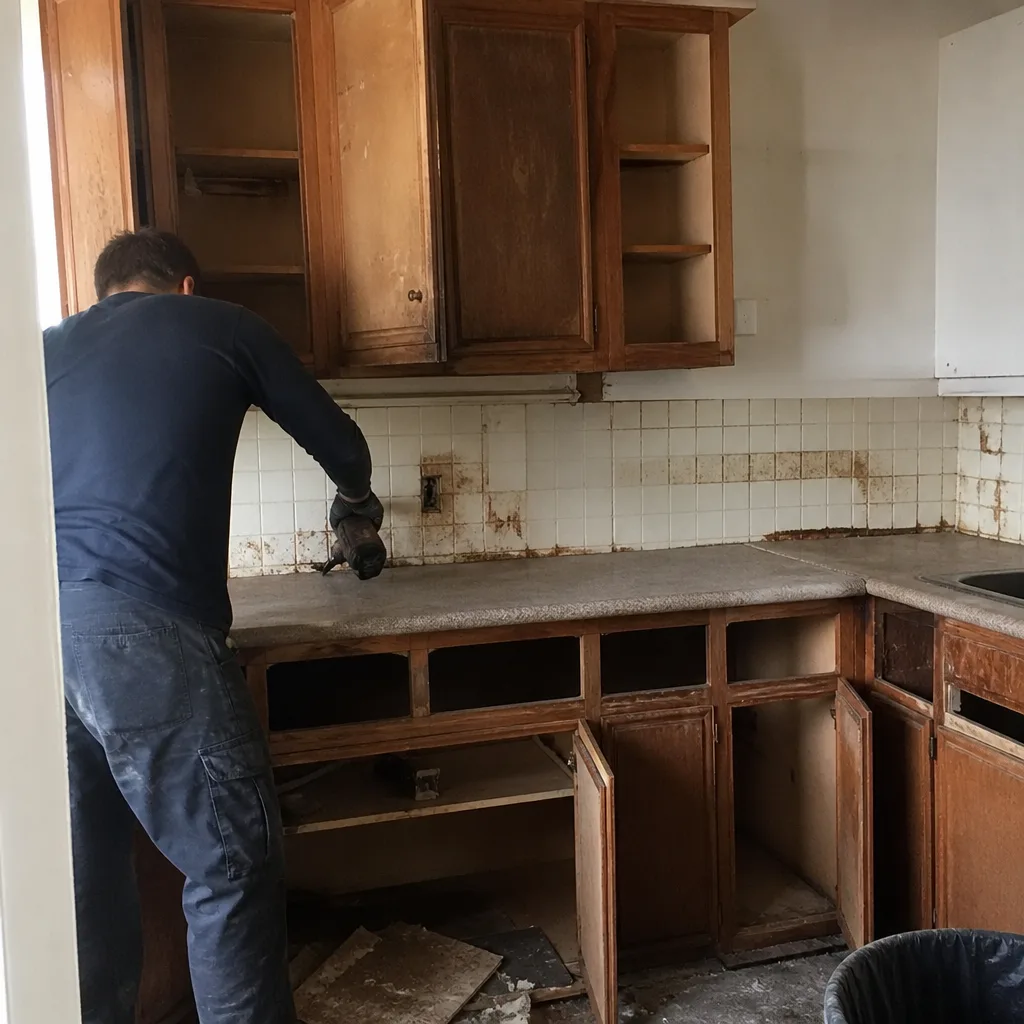 Before
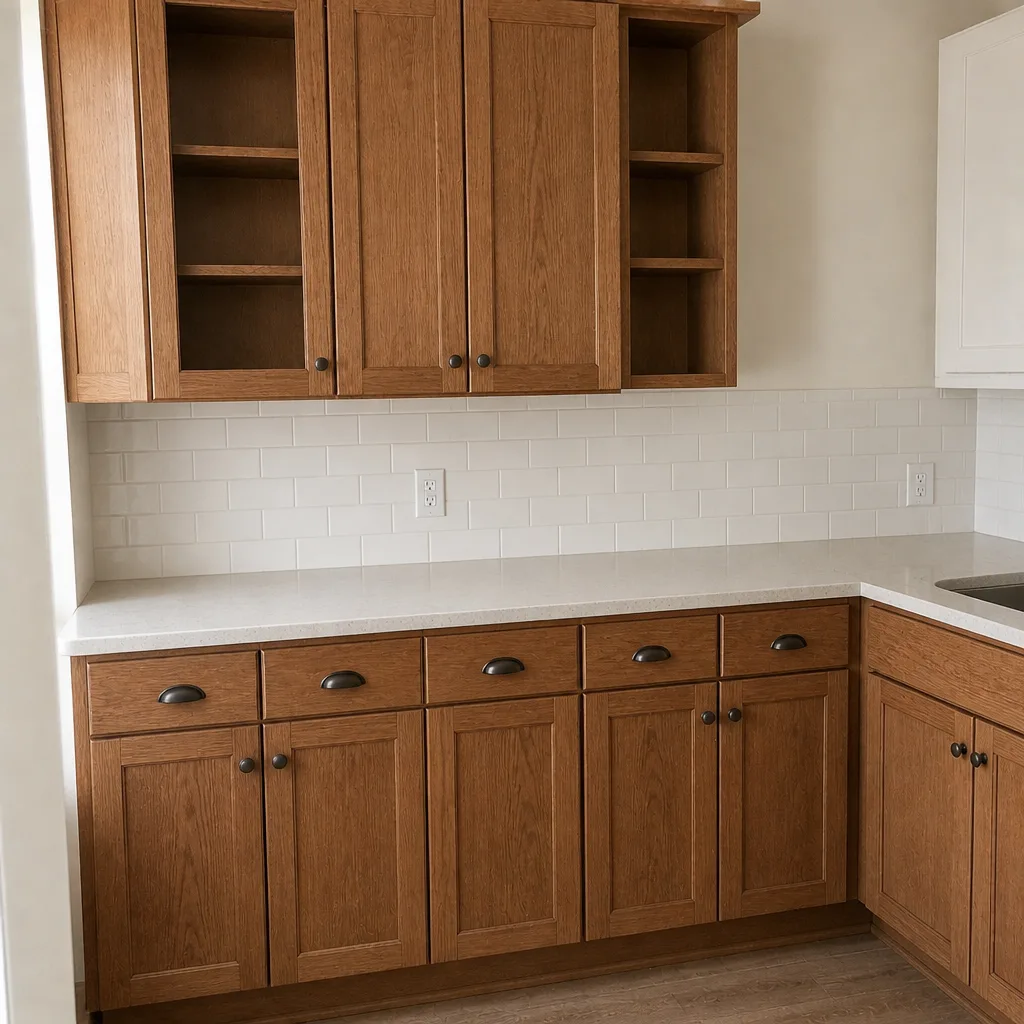 After
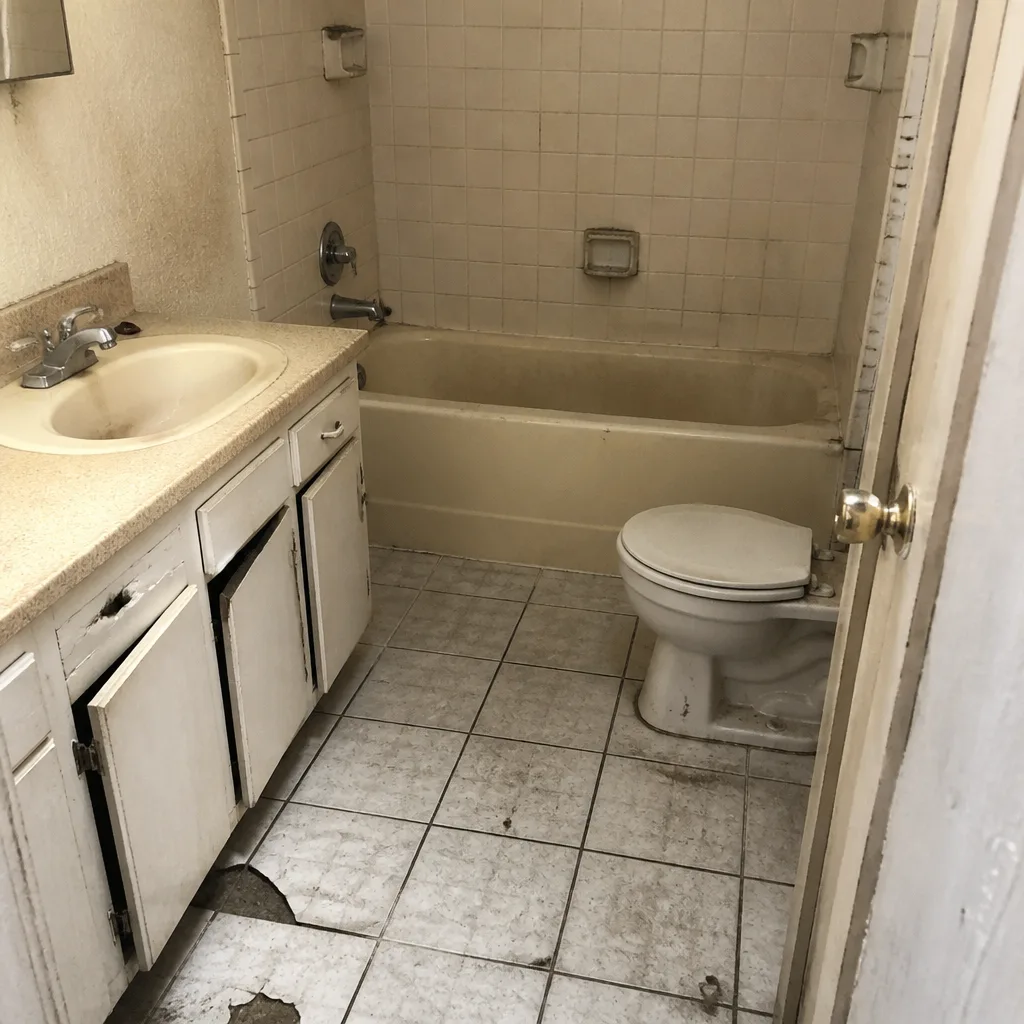 Before
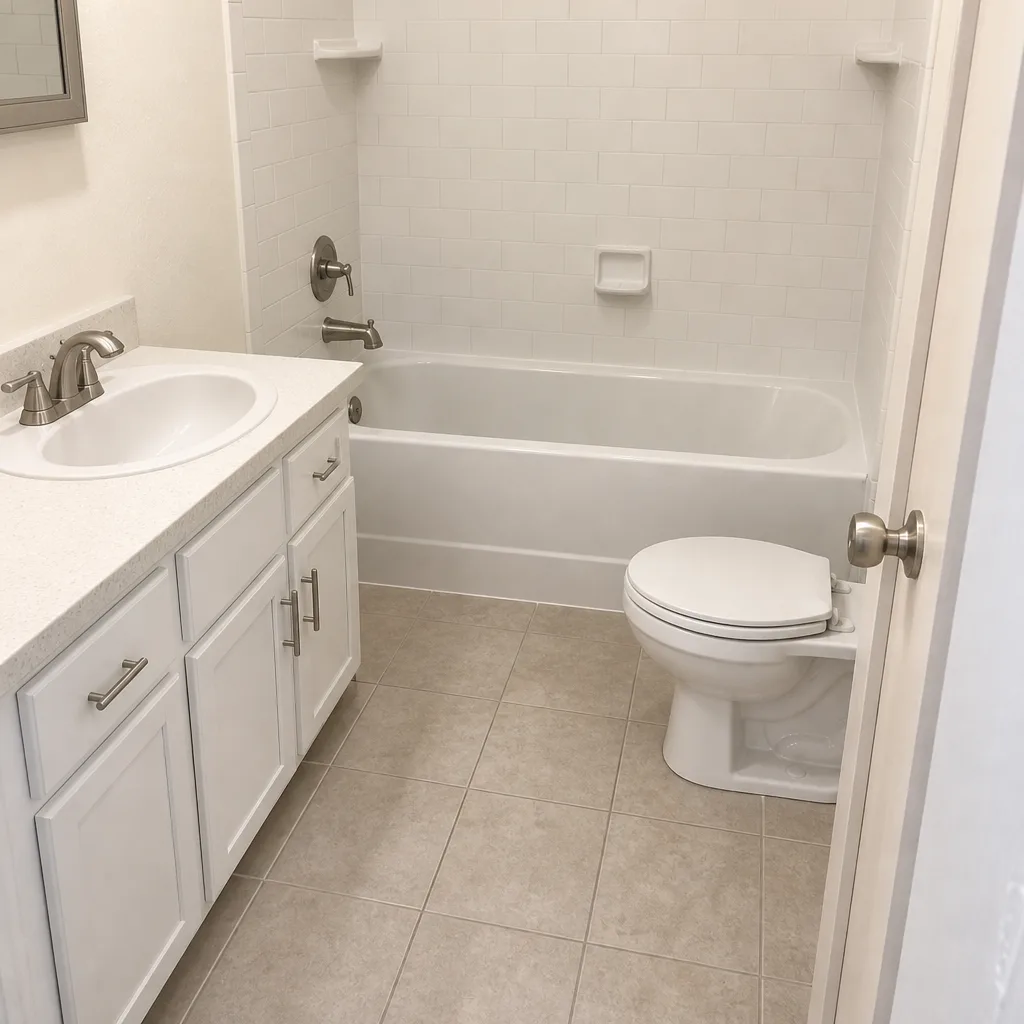 After
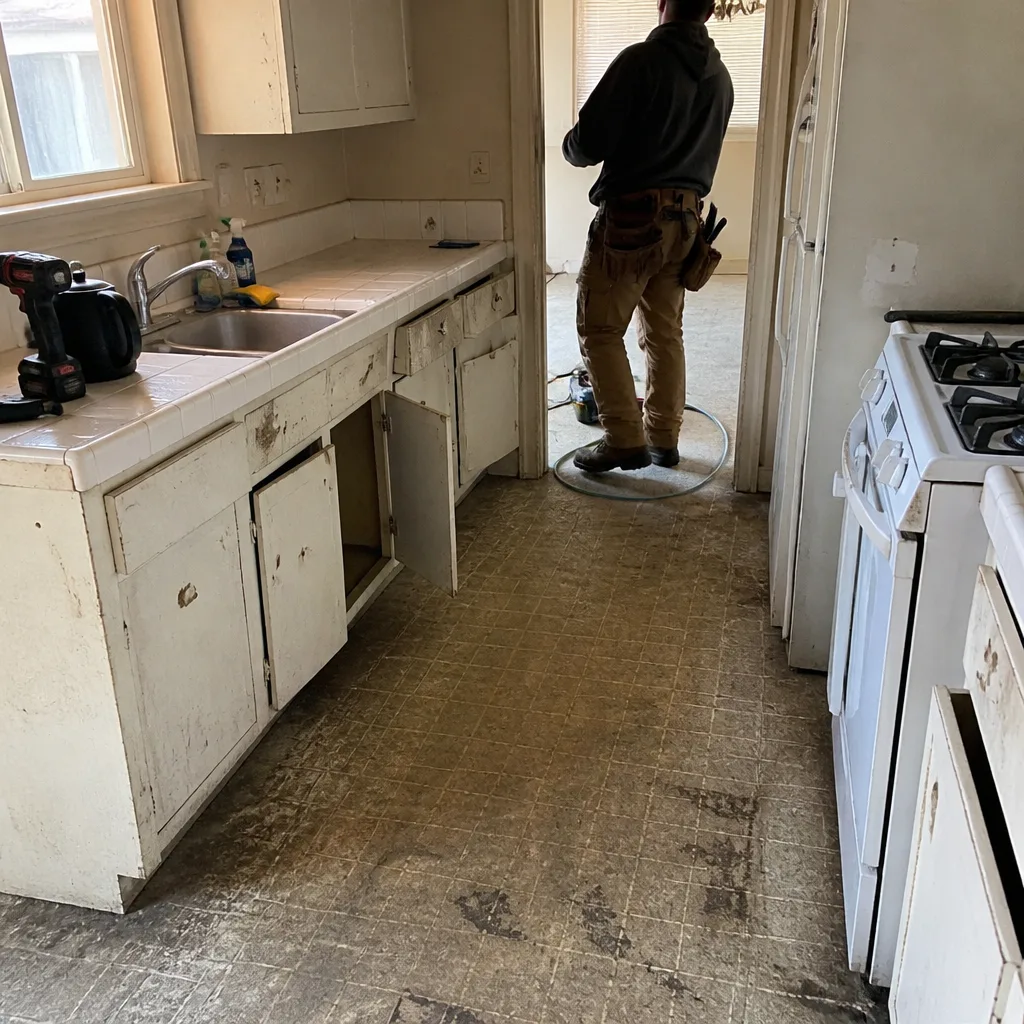 Before
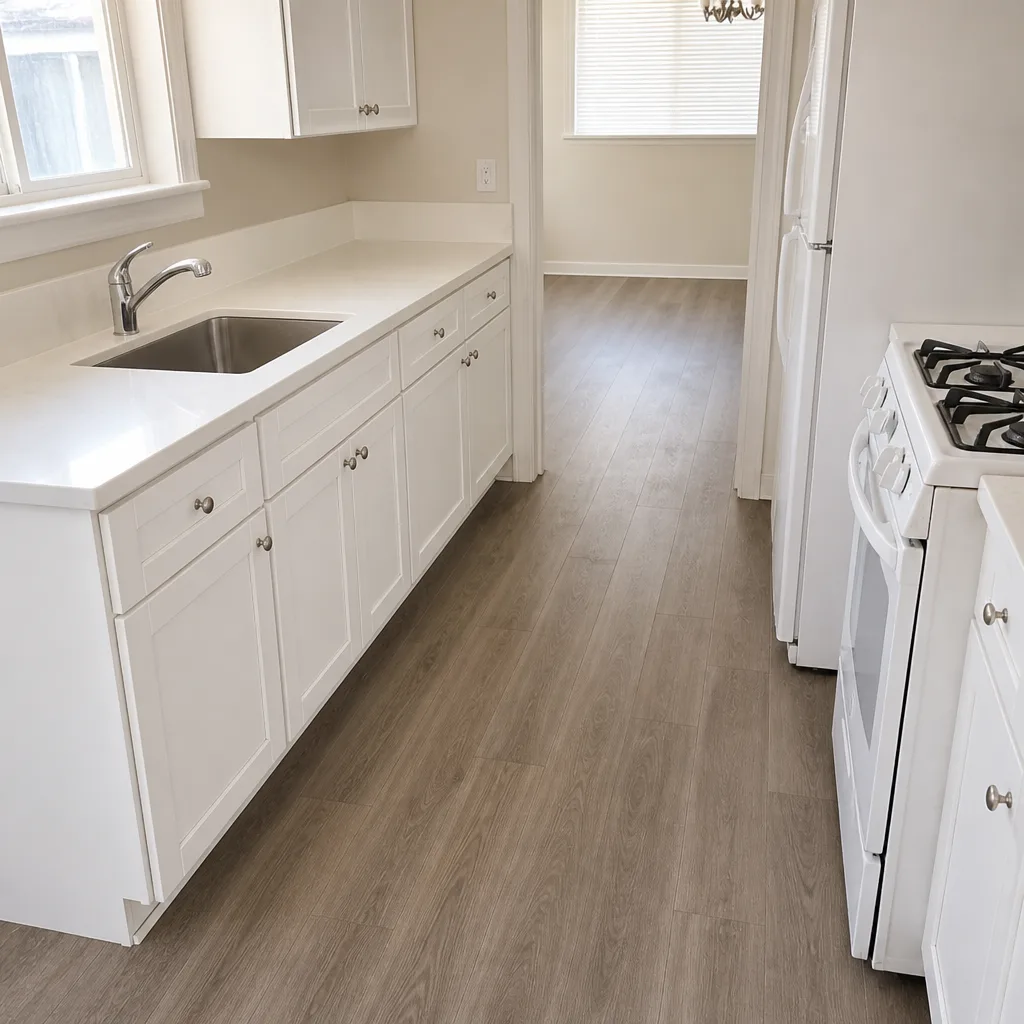 After
When to Call a Professional
Some things you can patch, some things you shouldn’t. Call a licensed professional when the problem involves the structural connection between your addition and your existing house, a roof transition that’s already leaking, a panel that trips under normal load, or an inspection that failed and needs a real fix rather than a cosmetic one. Call especially if the original contractor won’t come back, if you never received lien waivers, or if the work was done without permits. Those situations get more expensive the longer they sit. The State of California requires licensed contractors for work above a certain dollar amount, and additions and ADUs always clear that threshold. If your addition is still in the design phase, get a written scope and a line-item estimate before you sign anything. Barrett & Sons Construction offers free estimates in Lancaster – call (888) 427-1810. Live person answers the phone, day or night.
Frequently Asked Questions
Re-inspection fees usually run $100 to $200 per visit in most LA County jurisdictions, but the fix itself is what adds up: opening walls to correct nailing or connectors typically runs $800 to $3,500 depending on the scope. The bigger cost is schedule, since each re-inspection adds roughly three to seven business days. Call (888) 427-1810 for an exact quote on getting a failed job back on track – estimates are free.
Usually yes. The fix is removing the shingles and underlayment at the transition, installing step flashing woven into the existing courses, cutting a reglet into the wall for counter-flashing, and reinstalling the ice-and-water shield. Most of these repairs run $1,200 to $4,000 depending on roof geometry and whether the original install damaged the deck. A full tear-off is only needed when the sheathing underneath has been wet long enough to rot. Call (888) 427-1810 for a free estimate on the repair.
Not without a load calculation. Most 1990s-era Lancaster homes carry a 100-amp panel, and an ADU with its own kitchen and laundry will typically require a service upgrade to 200 amps or a separate meter. A written load calculation is the only way to know for sure, and it’s required for the permit. Call (888) 427-1810 to schedule a free estimate that includes the load calc.
Yes, on every eligible job. We pull the permits, coordinate the plan-check submittals, and schedule the inspections, and the homeowner gets the signed inspection records at closeout. If a contractor tells you permits are optional on an addition, that’s the first red flag. Call (888) 427-1810 to talk through your project.
A detached ADU in Lancaster typically runs 9 to 14 months from permit submittal to occupancy, with plan check alone taking two to five months depending on how complete the submittal is. Construction runs five to eight months for a 600- to 1,000-square-foot unit. The single biggest time saver is a survey-based site plan and a complete submittal at first pass. Call (888) 427-1810 to schedule a free estimate and scope review.
Not without a written change order you sign before the work proceeds. Every scope, every allowance, every price change arrives on paper before it happens – no surprise invoices at the end. An allowance that isn’t on paper is a surprise waiting for a date. Call (888) 427-1810 for a free second opinion on any written estimate you’ve already received.
The Bottom Line
Addition and ADU problems almost always trace back to a decision made early: the foundation detail that got rushed, the roof transition nobody owned, the HVAC sizing that ignored the new room, or the permit submittal that went in incomplete. Catching those early costs hundreds. Fixing them after move-in costs thousands. The three habits that prevent almost all of it: get every scope and change in writing, verify the license yourself, and insist that permits get pulled and inspections signed. That’s the whole game. It isn’t complicated, it’s just disciplined, and it’s the reason the last contractor cut corners in the first place.
If you’re planning a project in Lancaster or anywhere in the Antelope Valley, or fixing one that’s already gone sideways, call (888) 427-1810 for a free estimate. We’re happy to give you a second opinion on any written estimate, and no trip charge inside the county. Our neighbors around Lancaster know they’ll see us again at the hardware store, so the work stays right. To see the rest of what we do – from Driveway & Pavers in Lancaster to Fence Installation in Lancaster – start at the Barrett & Sons Construction Lancaster home page. Every eligible job comes with permits pulled and inspections signed, and a written 90-Day Done Right Promise on the contract.
Standing offers worth knowing about: $40 Off Any Repair Over $200, Free Second Opinion on Any Written Estimate, No Trip Charge Inside the County, and a permanent 10% Senior & Veteran discount.
Written by the team at Barrett & Sons Construction Lancaster.